


I’ve spent years around floor machines, and the buffer is one of the most useful tools you can own. It’s also one of the easiest to misuse. Run it wrong, and you’ll end up with swirl marks, a damaged finish, or a sore back.
The good news? A buffer isn’t hard to master once you understand what it’s actually doing. This guide walks you through the whole process, from picking the right pad to cleaning up when you’re done, with the kind of practical tips you only pick up after running these machines for real.
What a Floor Buffer Does and When to Use One
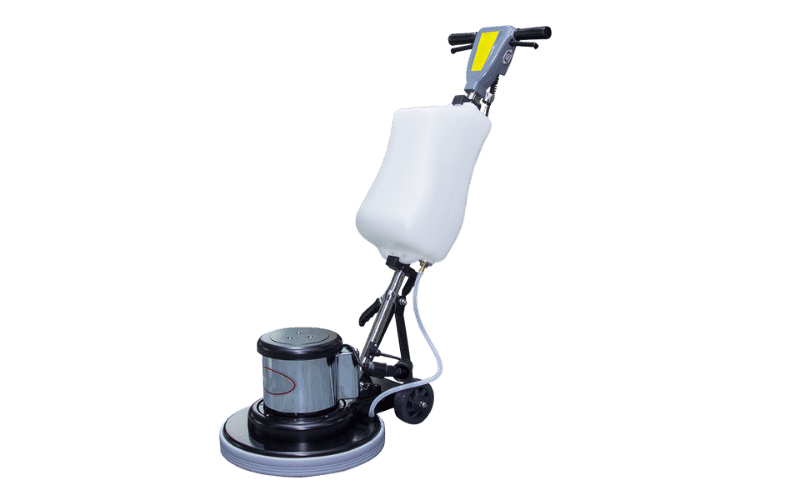
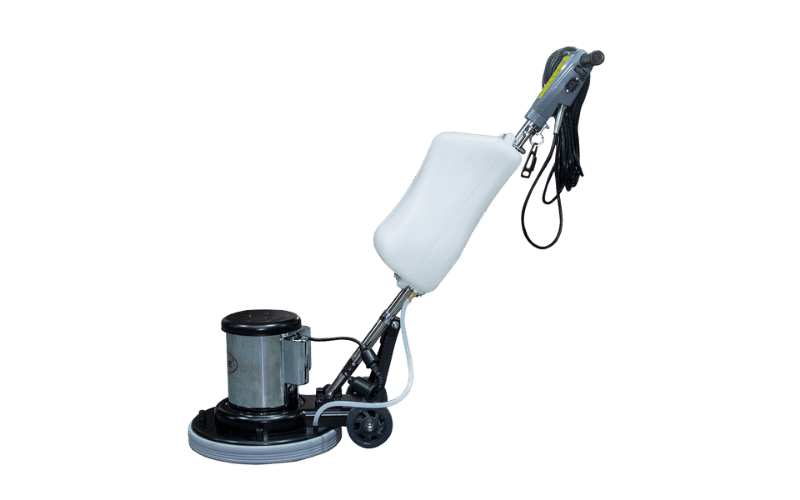
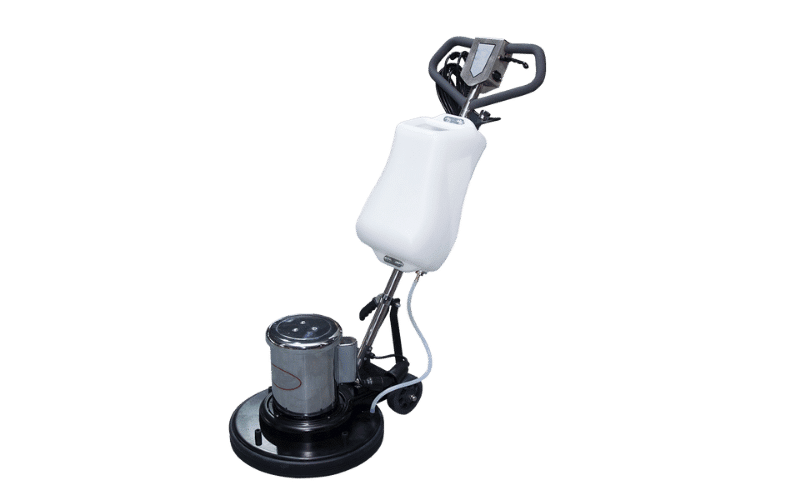
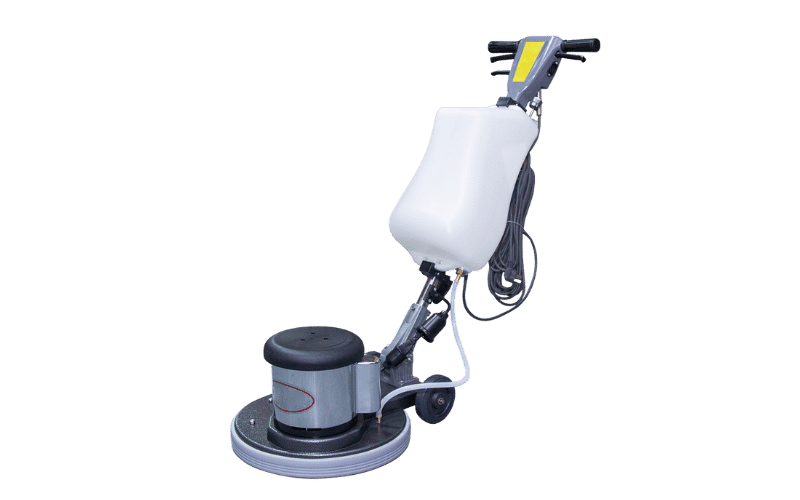
A floor buffer is a machine with a single round pad that spins flat against your floor. You push and guide it, and that spinning pad does the work of cleaning, polishing, or stripping, depending on the pad and chemical you pair with it.
It handles a few main jobs:
- Cleaning away surface dirt and grime
- Scrubbing built-up soil on hard floors
- Polishing to bring back a soft shine
- Light stripping of the old finish or wax
It helps to know how a buffer differs from two machines that people often confuse it with:
- A floor polisher is really just a buffer used for shine. Same low-speed family, focused on finishing.
- A floor scrubber sprays water and cleaner, scrubs, and then vacuums up the dirty water in one pass. A buffer doesn’t recover water. You handle that part yourself.
- A burnisher runs much faster and creates a high-gloss, mirror finish. A buffer can’t match that shine.
Set your expectations right. A buffer gives you a clean, refreshed, lightly polished floor. It won’t deliver a wet-look gloss, and it won’t fix deep damage.
Common floors that take well to buffing include vinyl, VCT, tile, sealed wood, and sealed concrete, as long as your pad and machine match the surface.
When a Floor Buffer Is the Right Tool
Reach for a buffer when a floor looks dull, scuffed, or filmed over with light soil that mopping won’t lift. Scuff marks from shoes, traffic lanes that have lost their shine, a general haze across a hard floor, those are buffer jobs.
But a buffer isn’t always the answer. Skip it when you’re dealing with:
- Deep stains soaked into the material
- Finish that’s already chipped, peeling, or worn through
- Unsealed or raw wood, which can soak up moisture and warp
In those cases, you need a different approach, whether that’s spot repair, refinishing, or a call to a pro.
What You Need Before You Start
Get your gear together before you plug anything in. Stopping mid-job to hunt for a pad is how mistakes happen.
Here’s the basic kit:
- The floor buffer itself
- A pad holder (also called a pad driver) or a scrub brush
- The right pads for your task
- Floor cleaner or stripping solution
- A mop and bucket
- Wet floor signs
The pad is the part people underestimate. The machine supplies the spin, but the pad decides whether you clean, polish, or strip. Match it to both the job and the floor, and you’re halfway to a good result.
For safety gear, wear closed-toe, non-slip shoes. Add gloves when you’re handling chemicals, and eye protection if you’re working with stripper or anything that can splash.
One more thing: clear the room first. Move out chairs, trash cans, mats, and anything else in your path. An open floor is a safe floor.
Choose the Right Pad or Brush
Floor pads come in colors, and those colors are a rough guide to how aggressive they are. The general rule: lighter pads are gentle, darker pads are aggressive.
Here’s the typical breakdown:
- White or red pads are soft. Use them for polishing and light cleaning.
- Blue or green pads are medium. Good for scrubbing and heavier cleaning.
- Brown or black pads are aggressive. These are your stripping pads.
Color codes can vary a little by brand, so check the pad packaging. The texture tells you a lot too: a soft, fluffy pad polishes, while a stiff, coarse pad cuts.
Get this wrong and you’ll pay for it. Too aggressive a pad scratches or dulls the floor. Too soft a pad just smears dirt around without lifting it.
Quick examples to keep straight:
- Cleaning: medium pad with a neutral cleaner
- Polishing: soft pad on an already-clean floor
- Stripping: aggressive pad with stripping solution
When in doubt, start with the least aggressive pad that can do the job. You can always step up.
Check the Floor Before You Run the Machine
Sweep or vacuum the whole area first. Always. A buffer spins fast, and any grit left on the floor turns into sandpaper under the pad. That’s how you get scratches.
While you’re at it, clear out anything that could trip you up or jam the machine:
- Loose debris and small objects
- Cords running across the floor
- Rugs and mats
- Furniture you missed earlier
Then look closer at the floor itself. Cracks, raised tiles, popped nails, or peeling finish all need attention before you buff. The machine can catch an edge, fling debris, or tear up loose finish if you ignore these spots.
If you’re working on an unfamiliar floor, test a small, out-of-the-way patch first. Run the machine for a few seconds with your chosen pad and check the result. Better to find a problem in a corner than across the whole room.
How to Set Up the Floor Buffer
A quick machine check before you start saves headaches later.
Inspect the Machine
Look over the cord for cuts, fraying, or a damaged plug. Check that the handle locks where it should and the controls feel solid. Take a look at the pad driver to make sure it spins freely and isn’t cracked or worn.
If anything looks off, fix it before you run the machine. A frayed cord or a wobbly pad driver isn’t worth the risk.
Attach the Pad or Brush
Most buffers tip back so you can reach the bottom. With the machine unplugged, center the pad on the pad driver and press it on so it sits flat and even. An off-center pad causes vibration and uneven cleaning.
If your model has a solution tank, fill it only with the right mix for your job, and don’t overfill it. Many basic buffers don’t have a tank at all, and that’s fine. You’ll apply solution by mop instead.
Prepare the Cleaning Solution
Mix your cleaner exactly as the product label says. The label dilution exists for a reason, and “a little extra” almost never helps.
In fact, too much cleaner works against you. It leaves a sticky residue, creates foam that gums up the pad, and can make the floor look streaky or dull when it dries.
For light maintenance buffing, plain water is sometimes all you need. Save the stronger cleaners for floors with real soil or grease.
And a basic safety reminder: never mix chemicals unless the label clearly says it’s safe. Some combinations create dangerous fumes. When in doubt, keep them separate.
Set Up the Work Area
If the space is open to other people, post wet floor signs before you start. Block off the area so no one wanders onto a damp, slick floor mid-job.
Make sure the lighting is good enough to see what you’re doing. You need to spot streaks and missed spots as you work. If you’re using chemicals, open things up for ventilation too.
Plan your path before you switch on the machine. Start at the far end of the room and work back toward the door. That way you never buff yourself into a corner or walk across a floor you just finished.
How to Use a Floor Buffer Step by Step
Here’s the core sequence. Keep it simple, stay steady, and let the machine do the work.
Start the Machine the Right Way
Stand with your feet apart for a stable base, and grip the handle firmly with both hands. Set the handle to a comfortable height around your waist.
Lower the handle and get a good grip before you flip the switch. When the pad engages, the machine will want to pull to one side, so be ready for it. A firm, balanced stance keeps you in control through that first pull.
Don’t death-grip it, but don’t be loose either. You’re guiding the machine, not wrestling it.
Move the Buffer Across the Floor
Here’s the trick that makes a buffer feel easy: it steers itself by tilting the handle.
- Raise the handle slightly, and the machine drifts to the right.
- Lower it slightly, and it drifts left.
You’ll learn to use that gentle side-to-side swing to sweep the buffer across the floor in a smooth arc. Work in sections, overlapping each pass so you don’t leave untouched strips.
Steady pace beats speed every time. Move at a calm, even rhythm and keep the machine moving. Never let it sit and spin in one place, or you’ll leave swirl marks and can burn the finish.
Handle Edges, Corners, and Tight Spaces
As you near a wall or baseboard, ease off and guide the buffer parallel to the edge rather than charging straight into it. A round pad can’t reach square corners, so plan to touch those up by hand.
Watch the baseboards. A spinning pad will scuff or mark them fast if you get careless. Work close, but stay controlled.
In narrow spots, reposition slowly. Turn the machine in small, deliberate moves instead of swinging it around. And keep an eye on the strip right along the wall, since that’s the easiest place to leave a missed line.
Work With the Grain or Pattern When Needed
On most hard floors, direction doesn’t matter much. But on wood-look planks or polished surfaces, working with the grain or plank direction gives a cleaner, more even look.
Tile seams and floor patterns make handy guides for keeping your passes straight. Overlap each pass a few inches, and the finish stays even with no obvious lines.
Stop and Check Your Progress
Pause every so often and look at your work. Step back, check the light, and scan for dull spots, streaks, or standing moisture.
If the floor isn’t coming clean, your pad may be loaded with dirt. Flip it over or swap in a fresh one. A clogged pad just pushes grime around.
When you stop the machine, switch it off and let the pad come to a full stop before you tip the buffer or move it. Then return the handle to its upright, locked position.
How to Match the Method to the Task
Cleaning, polishing, and stripping are three different jobs. Same machine, different pads, different goals. Here’s how to handle each.
Cleaning a Dirty Floor
Use a medium pad with a neutral cleaner to loosen surface dirt and traffic grime. Apply solution in a thin, even layer with a mop, then run the buffer over it.
Don’t soak the floor. A damp surface is plenty. Too much water creates slip hazards and can seep into seams.
Work in sections and mop up the dirty solution before it dries. If you let it sit, it just redeposits the dirt you worked to lift.
Polishing a Floor
Polishing is about reviving shine, not cleaning. So the floor has to be clean and dry before you start. Polishing over dirt just locks the dirt in.
Use a soft pad and make dry, even passes. Light overlapping passes with a fine pad bring up a warm, low shine. Take your time and let consistency do the work.
Stripping Old Finish
When the old wax or finish is yellowed, scratched, or built up too thick, it’s time to strip and start fresh.
Stripping calls for an aggressive pad and a stripping solution. Apply the stripper, give it the dwell time the label specifies, and then run the machine to break the finish loose.
Be extra careful near edges and seams, where stripper tends to pool and finish tends to build up. Once you’ve stripped the floor, you’ll usually need to rinse or neutralize it before applying new finish. Follow the product label so the new coat bonds properly.
Common Mistakes to Avoid
After years of watching people run these machines, the same handful of mistakes come up again and again. Here’s how to dodge them.
Using the Wrong Pad
Too aggressive, and you scratch or dull the floor. Too soft, and the dirt stays put. Match the pad to the task: soft for polishing, medium for cleaning, aggressive for stripping. When unsure, start gentle and work up.
Staying in One Spot Too Long
Let the buffer sit and spin, and you’ll burn the finish or leave a swirl you can’t easily fix. Keep the machine moving at a steady pace. And let the machine’s own weight supply the pressure. Don’t push down with your body.
Skipping Floor Prep
Buffing over grit grinds it into the floor and leaves scratches. Sweeping or vacuuming first takes a few minutes and saves you from a ruined finish. Clear cords and loose items too, since they’re both a tripping hazard and a machine hazard.
Using Too Much Cleaner or Water
Excess solution leaves residue, causes streaks, and makes the floor slippery. For many jobs, a damp floor is enough. Follow the label dilution and test a small area if you’re not sure how the floor will react.
Ignoring Machine Feedback
Your buffer talks to you. Heavy vibration, an odd noise, or uneven cleaning all mean something’s off. Stop and check the pad first, then look for debris under the machine and inspect the cord. Don’t push through a problem, since that’s how small issues become expensive repairs.
How to Clean Up After Using the Buffer
The job isn’t done when you switch off the machine. Good cleanup keeps the floor safe and your buffer ready for next time.
Finish the Floor the Right Way
Pick up any remaining dirty solution with a mop, and rinse the floor if the product label calls for it. Then let the floor dry completely.
Once it’s dry, do a final walk-through. Dull spots and streaks often show up only after the floor dries. Touch those up as needed.
Keep people off the floor until it’s fully dry and safe. Leave your wet floor signs up until then.
Clean the Pad, Brush, and Machine
With the machine unplugged, remove the pad or brush. Rinse out cleaning pads and let them dry flat. Stripping pads are often too loaded with old finish to save, so dispose of those as the label directs.
Wipe down the housing and handle to clear off splashed solution and dust. Then wrap the cord in loose loops. Tight bends and kinks shorten a cord’s life and can cause damage over time.
Store the Buffer Safely
Keep the machine in a dry spot, out of walkways where someone could trip over it. Store pads flat and clean, and keep chemicals in their labeled containers, away from anything they shouldn’t mix with.
Before your next job, give the buffer a quick once-over. Catching a worn pad driver or a nicked cord before you start beats discovering it halfway through.
Floor Buffer Safety Tips
Here’s the safety rundown in one place. None of it is complicated, but all of it matters.
Personal Safety
Wear non-slip, closed-toe shoes. Tie back long hair and skip loose clothing or dangling drawstrings that could catch in the moving pad. Keep your hands well clear of the pad whenever the machine is running.
If you need to lift or move the buffer, bend with your knees and get help with the heavier units. These machines have some weight.
Electrical Safety
Keep your hands dry when handling the plug and switches. Run the cord behind you and over your shoulder if it helps, so the spinning pad never crosses it. A pad catching a cord is bad news.
Check the cord and plug every use before. Any damage means repair or replace before you run the machine, no exceptions.
Surface Safety
Confirm the floor type and finish before you choose a pad. The wrong combination can wreck a surface in seconds. Protect baseboards, furniture legs, and nearby walls from the spinning pad.
And stay aware of slip hazards the whole time, both for you during the job and for anyone walking through after. Signs and barriers do their job only if you actually put them out.
When to Call a Professional or Use a Different Tool
A buffer is versatile, but it’s not the right answer for everything.
Call in a pro or switch tools when you’re facing:
- Badly damaged floors with deep gouges, peeling finish, or water damage that needs real restoration
- Large commercial jobs where a walk-behind scrubber or a high-speed burnisher will do the work faster and better
- Specialty surfaces like natural stone, certain hardwoods, or anything with specific manufacturer care requirements
Knowing when to step back is part of doing the job well. The right tool or the right pro saves you time and prevents damage that would cost far more to fix than it would have to do it right the first time.
FAQs
How do you use a floor buffer for the first time?
Start small. Clear and sweep the room, attach the right pad, and practice the side-to-side handle motion in an open area before you worry about edges. Raise the handle to drift right, lower it to drift left, and keep the machine moving. You’ll get the feel within a few minutes.
What pad should you use on a floor buffer?
It depends on the job. Soft pads (white, red) polish and clean lightly. Medium pads (blue, green) scrub and clean. Aggressive pads (brown, black) strip old finish. Always match the pad to both the task and the floor, and start with the gentlest option that works.
Can you use a floor buffer on hardwood floors?
On sealed hardwood, yes, with a soft pad and the right setup. On unsealed or raw wood, no. The moisture and friction can damage it. Always check the floor’s finish first, and test a small area if you’re unsure.
How do you keep a floor buffer from leaving swirl marks?
Keep the machine moving and never let it sit spinning in one spot. Use a clean pad, overlap your passes evenly, and let the machine’s weight provide the pressure instead of pushing down. Swirl marks almost always come from dwell time or a dirty pad.
Do you need a cleaner with a floor buffer, or can you use water?
It depends on the floor. For light maintenance buffing, plain water often works fine. For dirty or greasy floors, you’ll want a proper floor cleaner mixed to the label’s dilution. Just don’t overdo the solution, since too much leaves residue and streaks.
How often should you buff a floor?
It comes down to traffic. High-traffic commercial floors might be buffed weekly or even daily to maintain their appearance. Lower-traffic floors can go longer. Let the floor tell you. When the shine dulls or scuffs build up, it’s time.
What is the difference between a floor buffer and a floor polisher?
Not much, honestly. A polisher is essentially a buffer used for shine, often with a softer pad. Both run at low speed. The term you hear just depends on the task and the brand. A burnisher, on the other hand, is a different, much faster machine.
Why does a floor buffer vibrate or pull to one side?
Usually it’s the pad. An off-center, worn, or loaded pad throws the machine off balance. Unplug it and check that the pad sits flat and centered. Debris under the machine or an uneven floor can cause it too. If it keeps happening, inspect the pad driver.
Conclusion
Using a floor buffer well comes down to a few solid habits: prep the floor, pick the right pad, keep the machine moving at a steady pace, and clean up carefully when you’re done.
None of it is complicated once you’ve run the machine a few times. The operators who get great results aren’t the fastest; they’re the ones who stay patient and let the buffer do the work.
Before your next job, take two minutes to check your floor type and test your pad on a small, hidden patch. That one habit prevents most of the problems I see, and it sets you up for a clean, even finish every time.