



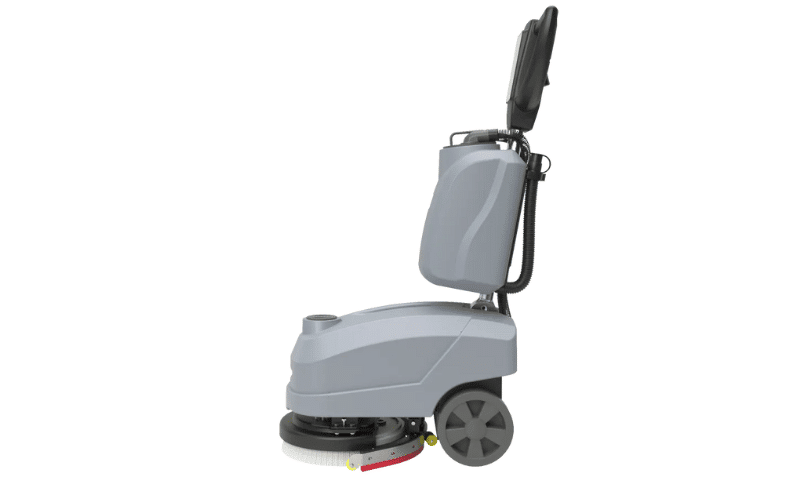

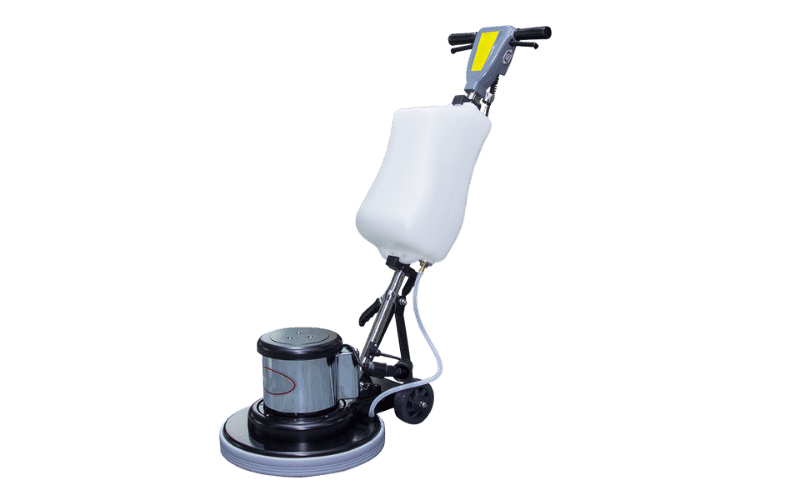
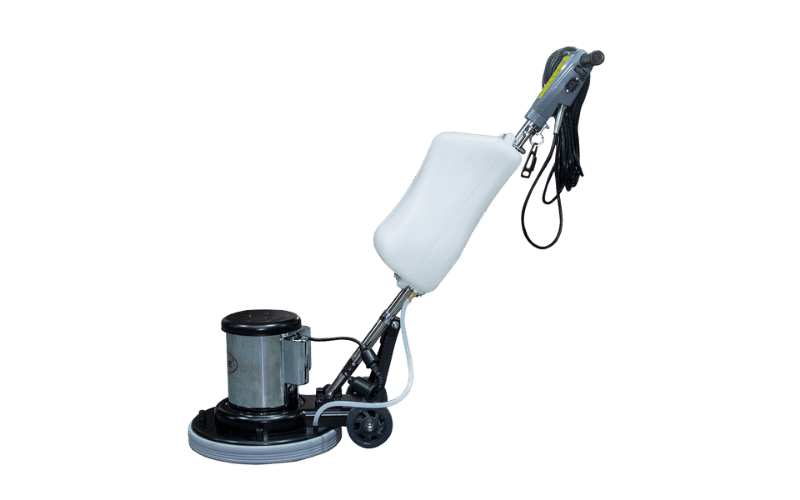
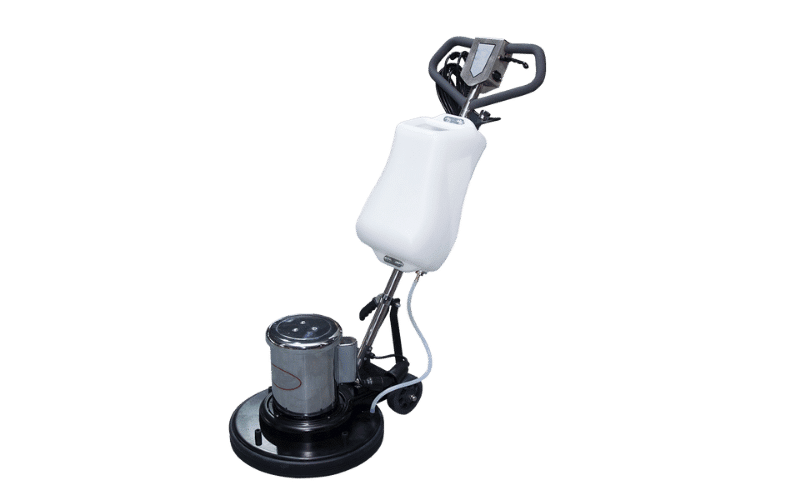




A floor buffer is a simple machine, but simple doesn’t mean indestructible. Leave a pad attached overnight, skip the wipe-down, or roll the machine into a damp closet and forget about it, and you’ll come back to a corroded drive block, a cracked cord, or a motor that fights you on startup. None of that is hard to avoid. A short routine after each job and a bit more care before longer breaks keep the machine ready to work every time you need it.
This guide covers how to clean and store a floor buffer the right way, from quick post-job habits to full storage prep. It’s written for facility managers, custodial teams, and contractors who want straightforward, practical advice, not a manual reprint.
Key takeaways:
- Remove the pad and wipe down the machine after every use.
- Before any extended storage, clean thoroughly, dry everything, and protect the cord and motor vents.
- Store the buffer indoors in a dry, stable spot, resting on its handle and wheels, not on the pad driver.
- Run a quick inspection before putting the machine back to work.
What Is a Floor Buffer?
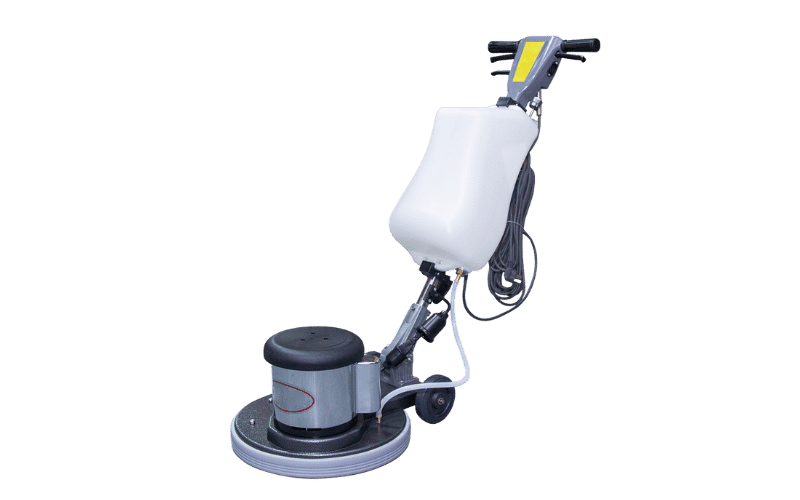
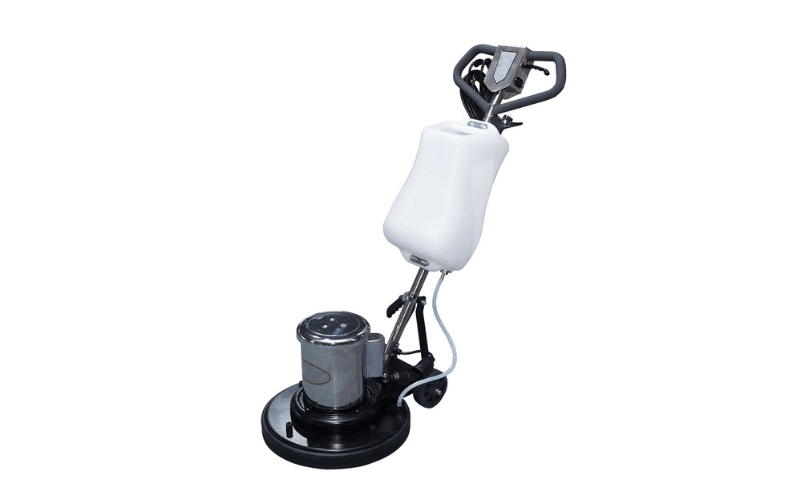
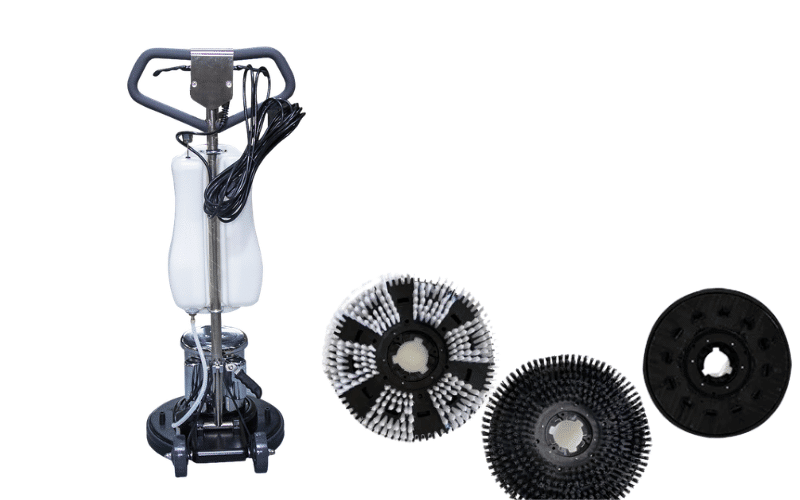
A floor buffer, also called a floor machine or single-disc machine, uses one rotating pad or brush to polish, buff, scrub, or strip hard floors. The operator walks behind it and steers by tilting the handle slightly left or right.
One distinction worth getting right: a floor buffer is not an auto scrubber. A standard buffer has no solution tank, no recovery tank, and no squeegee. Most low-speed buffers run on a power cord. Many high-speed burnishers run on a cord, a battery, or propane. Because the design is simpler than a scrubber’s, maintenance focuses on the pad driver, the cord or power source, the motor housing, and the handle mechanism.
Knowing what your machine actually has helps you skip steps that don’t apply. No solution tank means no tank to flush. Maintenance here is about cleaning what’s there, drying it out, and putting it away correctly.
When to Store Your Floor Buffer
The level of prep you need depends on how long the machine will sit idle.
Short pauses (a few days to two weeks): Light care is enough. Pull the pad off, wipe down the machine, and park it in a dry spot. No deep routine needed.
Extended storage (a month or more): This is where full preparation earns its keep. Seasonal closures, summer or winter breaks, building renovations, or a shift to different work all call for a complete clean-and-store routine. A buffer left dirty in a damp area for several weeks can develop corrosion on the drive block, a stiff or cracked cord, and flat or warped pads.
When in doubt, treat anything over two weeks as extended storage. The extra few minutes of prep cost almost nothing and protect a machine that likely costs several hundred dollars or more.
Where to Store Your Floor Buffer
Location matters as much as the prep work. Aim for a dry, indoor, climate-stable space.
Moisture is the biggest threat. Damp air causes rust on the metal base plate and pad driver, and it can work its way into the motor over time. A janitorial closet, equipment room, or a warehouse corner, away from leaks and condensation, works well. Avoid unheated sheds, outdoor areas, and spots near floor drains or wash-down zones.
Temperature swings cause their own problems. Sustained heat dries out and cracks cord insulation and rubber bumpers. Freezing temperatures stress plastic housings and, on battery-powered models, can damage the battery if it’s stored discharged. A stable indoor environment avoids both.
Park the buffer upright or tilted back so it rests on its handle and transport wheels, keeping all weight off the pad driver. If you can’t store it fully indoors, use a breathable equipment cover and find the driest, most sheltered spot available.
How to Prepare Your Floor Buffer for Storage
Work through these steps in order. Done consistently, the routine takes only a few minutes.
1. Unplug and Inspect the Power Cord
Unplug the machine before you touch anything else. Then run the full length of the cord through your hands, feeling for cracks, cuts, exposed wire, or melted spots near the plug or the machine body. A damaged cord is the most common safety problem on these machines, and it’s easy to catch before it becomes a hazard.
Coil the cord loosely and hang it on the cord hook or over the handle. Avoid tight wraps and sharp kinks, which stress the insulation and shorten cord life.
2. Clean the Housing and Base Plate
Wipe down the motor housing, handle, and motor cover with a damp cloth to clear dust, chemical splashes, and grime. Pay close attention to the base plate underneath, where stripping chemicals, wax residue, and slurry collect. Left in place, these residues attack the metal and harden into buildup that’s much harder to remove later.
For heavy stripping residue, use a cloth dampened with clean water or a manufacturer-approved cleaner, then follow with a dry wipe. Don’t rinse the machine with a hose or let water pool near the motor housing.
3. Remove and Clean the Pad Driver and Pads
Pull off the pad or brush before storage, even if it still has usable life left. A dirty pad left on the machine traps moisture against the drive block, which leads to corrosion over time. Under the machine’s weight, pads can also flatten or warp in ways they won’t recover from.
Clean the pad driver and inspect it for wear. Rinse reusable brushes thoroughly and hang them to dry fully with the bristles pointing down, which lets them air out and keeps the bristles from bending under their own weight. Check pads for condition: keep clean ones; discard any that are heavily worn or soaked in stripping wax. Store pads flat so they don’t curl in storage.
4. Dry All Components Fully
Let everything air dry before putting the machine away. Wipe down any damp surfaces and allow the base plate, pad driver, and brushes to dry completely. This step is easy to skip, but trapped moisture is the most common cause of rust and odor in stored equipment.
5. Protect the Motor Vents
The ventilation slots on the motor housing pull in air to keep the motor cool. During long storage, dust and pests can settle inside. A well-fitted equipment cover handles most of this. If pests are a known problem in your storage area, you can loosely cover exposed vent openings with breathable mesh or a light cloth.
If you do cover the vents, leave yourself a visible reminder and remove every covering before the next startup. Blocked vents overheat the motor fast.
6. Lubricate Handle Hinges (If Applicable)
If your machine has a handle that pivots or adjusts at a joint, a light application of machine oil on the hinge keeps it moving smoothly and protects against rust. Wipe away any excess. Skip this on sealed or maintenance-free joints, and follow your machine’s manual for any model-specific guidance.
7. Cover the Machine
Finish with a breathable cover sized to fit the buffer. A cover keeps dust off the housing and out of the motor vents and bearings, where even fine grit causes wear over time. If the cover is stiff or heavy, drape a soft cloth over the controls first to protect the panel. Avoid sealing the machine in airtight plastic, which traps moisture against the metal and defeats the purpose.
Storing a Battery-Powered Floor Buffer or Burnisher
Cordless burnishers and battery-powered buffers need the steps above, plus a few battery-specific habits. The battery is the component most likely to fail during storage, and most failures are preventable.
- Charge before storage. Most lead-acid batteries should be stored at full charge to prevent sulfation, which occurs when a battery sits in a discharged state for an extended period. Check your manual for the recommended state of charge for your specific battery type.
- Use a smart maintenance charger. A smart or trickle charger that switches to float mode holds the battery at the right level without overcharging. Many machines are safe to leave connected to one during downtime; confirm yours is before leaving it plugged in.
- Disconnect if no charger is available. If you can’t keep a maintenance charger on the machine, disconnect the battery to stop slow drain from the control electronics. Turn off the main switch, remove the key, loosen the negative terminal first, then the positive. Tuck the cables so they can’t come into contact with each other or the frame.
- Watch the environment. Store the battery in a cool, dry place within the temperature range specified in your manual. Heat shortens battery life. Freezing can damage a discharged battery.
Reconnect and fully charge the battery before the machine’s first use after any extended storage.
Pre-Use Inspection Checklist
Before you put the buffer back to work, a quick walk-through can catch small problems before they cause downtime.
- Power cord: Inspect again for any damage that may have developed during storage.
- Plug and switch: Confirm the plug is intact, and the on/off switch operates correctly.
- Vent coverings: Remove any mesh or cloth placed over the motor vents before the original storage.
- Pad driver and pad: Reattach a clean pad driver and a fresh or cleaned pad, ensuring the pad is seated correctly and centered.
- Wheels and handle: Check that the transport wheels roll freely and the handle locks at your preferred height.
- Battery (if applicable): Reconnect, charge fully, and confirm the battery holds a charge before a full run.
- Test run: Power on briefly in an open area and listen for unusual noise or vibration before starting real work.
Common Storage Mistakes to Avoid
A handful of predictable habits cause most storage damage. Watch for these:
- Leaving the pad on the machine: Traps moisture against the drive block and flattens the pad. Always remove it.
- Storing the machine wet or damp: Skipping the drying step invites rust and odor. Let everything dry first.
- Wrapping the cord too tightly: Tight kinks and hard bends crack the insulation over time. Coil it loosely.
- Choosing a damp or unheated spot: A leaky closet or cold shed undoes all the prep work. Pick a dry, stable location.
- Storing a discharged lead-acid battery: A flat battery can sulfate and may not recover. Always charge before storage.
- Forgetting to remove vent coverings: Mesh or cloth left over the vents will overheat the motor on startup. Remove it before use.
Frequently Asked Questions
Does a floor buffer have a solution tank that needs to be drained before storage?
Standard floor buffers don’t. They’re single-disc machines without the solution and recovery tanks found on auto scrubbers. A small number of models have an optional solution feed attachment; if yours does, empty and rinse it before storage. Most buffers have nothing to drain.
How long can I leave a floor buffer in storage?
With proper prep, a floor buffer can sit for several months without issue. The keys are a clean, dry machine, a removed pad, a dry storage location, and a properly charged battery on cordless models. Run a quick inspection before putting it back to work.
Should I remove the pad before storing the machine?
Yes, every time. A pad left on the machine traps moisture against the drive block and can flatten or warp under the machine’s weight during storage.
How should I store a battery-powered burnisher’s battery?
Charge it fully first, then either keep it on a smart maintenance charger set to float mode or disconnect it to prevent slow drain. Store it in a cool, dry environment within the temperature range specified in your manual.
Can I store my floor buffer outdoors under a cover?
It’s not a good option if you can avoid it. Outdoor conditions bring moisture, temperature swings, and UV exposure that lead to rust, cracked insulation, and degraded plastics. If indoor space isn’t available, use a breathable cover and choose the most sheltered, driest spot you can find.
Why is my stored buffer making noise or vibrating on startup?
The most common causes are a warped or unevenly worn pad, a loose or misseated pad driver, or debris on the base plate. Start there. If the problem continues after checking those, have a qualified technician inspect the machine before running it further.
Do I need to lubricate my floor buffer before storage?
Only the moving parts that specifically call for lubrication, such as a pivoting handle hinge. A light machine oil on the joint protects against rust and keeps the adjustment smooth. Skip sealed or maintenance-free components, and follow your manual’s guidance.
Conclusion
Keeping a floor buffer in good shape comes down to consistent, simple habits. Unplug and check the cord. Wipe down the housing and base plate. Pull the pad and driver off, clean them, and let everything dry before putting the machine away. Protect the motor vents, cover the buffer, and choose a dry indoor spot. For battery-powered models, add proper battery care to the routine.
None of this takes long, and the payoff is a machine that starts clean and runs reliably every time you pull it out. Build the routine into your closing checklist before any break of a month or more, and start with one habit if you haven’t already: remove the pad and wipe down the base plate before storage. That one step prevents the most common damage, and everything else follows naturally from there.