


Clean floors do more than just improve the appearance of a space; they are fundamental to creating a safe, hygienic, and welcoming environment. In high-traffic areas such as schools, warehouses, and commercial buildings, floors are constantly exposed to dirt, spills, and wear. A systematic cleaning approach is essential not only for aesthetics but also for preventing slips, reducing the spread of germs, and extending the life of your flooring investment. This is where powerful tools like industrial floor scrubbers and sweepers become indispensable. Effective floor care requires more than just a quick mop; it demands a structured process that addresses everything from loose debris to invisible pathogens. This ultimate checklist will guide you through professional-level floor cleaning techniques, ensuring every surface receives the proper treatment for a deep, lasting clean.
Before You Begin: Gather Your Supplies
Proper preparation is the key to an efficient and effective cleaning workflow. Assembling all your supplies before you start prevents interruptions and the risk of cross-contamination, such as touching clean supply areas with dirty gloves mid-task. Professional cleaners understand that an organized start saves significant time and ensures a higher standard of cleanliness, especially in large or bacteria-prone environments. Before tackling your floors, take a moment to gather everything you need.
Essential supplies include personal protective equipment (PPE) like rubber gloves and safety glasses, a high-quality broom or dust mop, several microfiber cloths for different tasks, stiff-bristled scrub brushes for tough spots, and at least two buckets—one for the cleaning solution and one for rinsing. When it comes to cleaning solutions, it is crucial to select products appropriate for your specific floor type. A neutral pH cleaner is safe for most surfaces, including wood and laminate, while a more alkaline solution may be needed for heavy grease on concrete. For tile floors, you might need a specialized grout cleaner. Always read the product labels to ensure compatibility and effectiveness. Finally, remember basic safety protocols. Never mix different cleaning chemicals, particularly bleach and ammonia, as this can create toxic gas. Ensure the area is well-ventilated by opening windows or using fans to protect your respiratory system from fumes.
Step 1: Remove Loose Debris
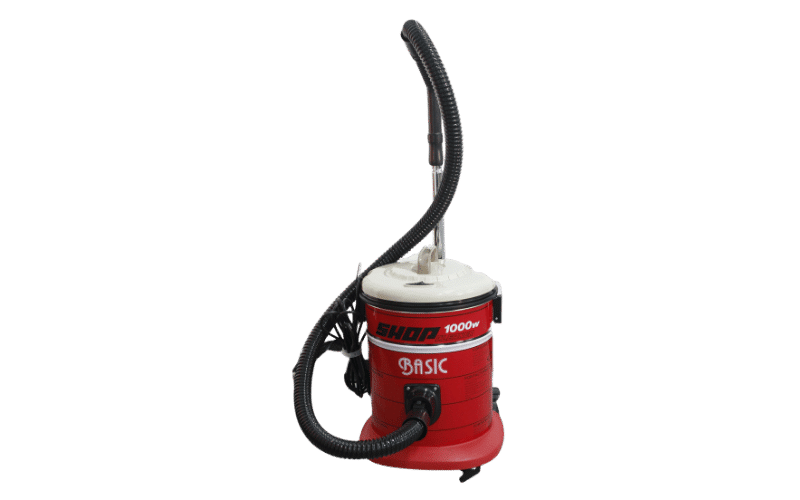
The first and most critical step in any floor cleaning routine is to remove all loose soil, dust, and debris. Skipping this stage means you will essentially be pushing dirt around with your mop or scrubber, which can scratch delicate floor surfaces and prevent your cleaning solutions from working effectively. Start by thoroughly sweeping or vacuuming the entire area. Pay close attention to corners, baseboards, and the spaces under furniture and equipment, as these are magnets for dust and grime. Using a broom with fine bristles or a vacuum with a crevice tool attachment will help you capture as much particulate matter as possible.
For larger commercial or industrial spaces, this manual process can be time-consuming and inefficient. This is where mechanical sweepers, such as those offered by Leadv, provide a significant advantage. A ride-on or walk-behind floor sweeper can cover vast areas in a fraction of the time it would take to do so by hand. Leadv sweepers are equipped with powerful brushes that agitate and lift debris, while integrated dust control systems capture airborne particles, improving air quality and preventing the dust from resettling. By thoroughly removing all loose materials first, you create a clean slate for the deep cleaning and disinfecting steps that follow, ensuring a more effective and hygienic result.
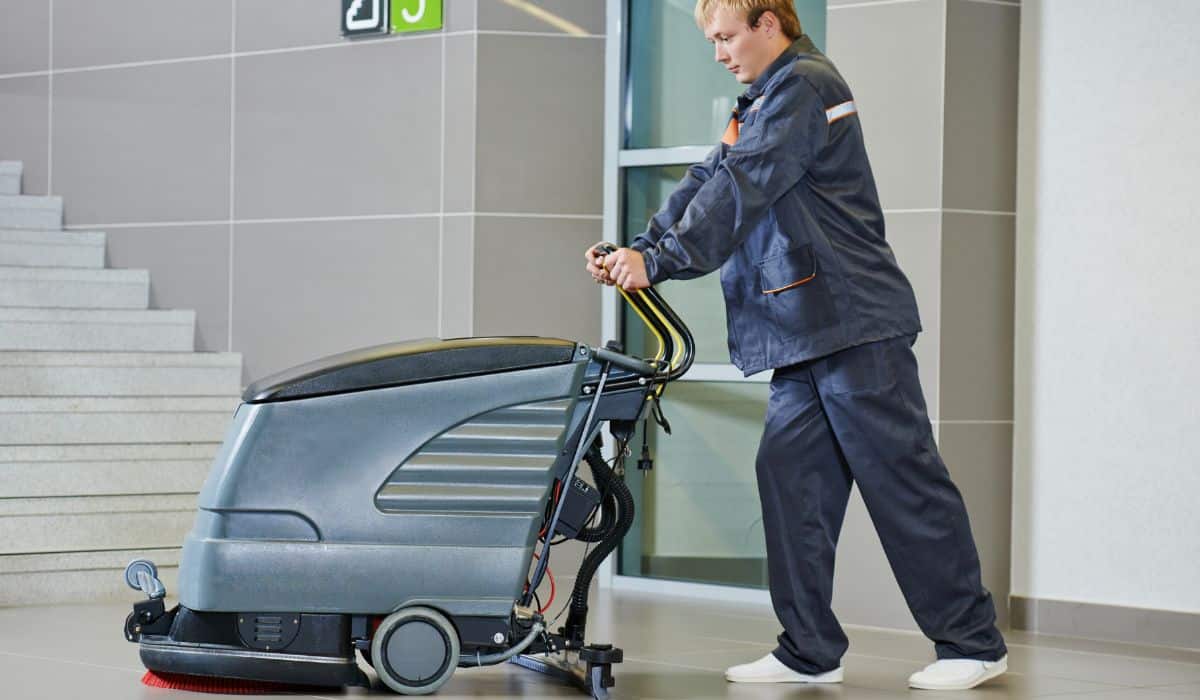
Step 2: Deep Clean with a Floor Scrubber
")
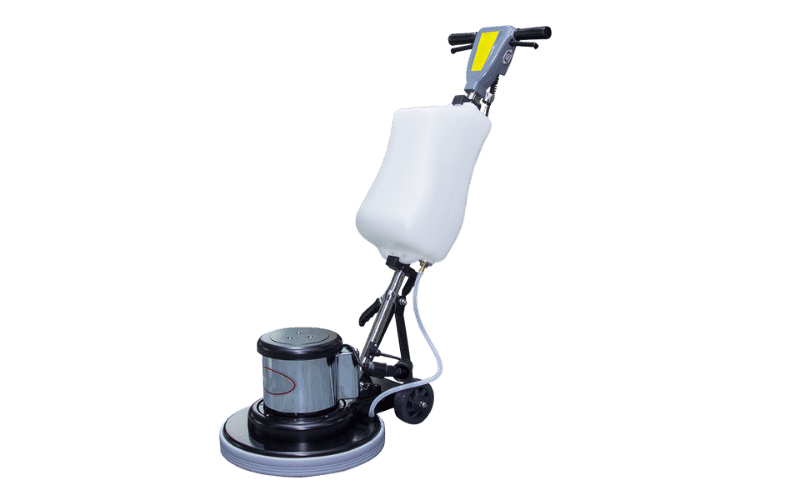
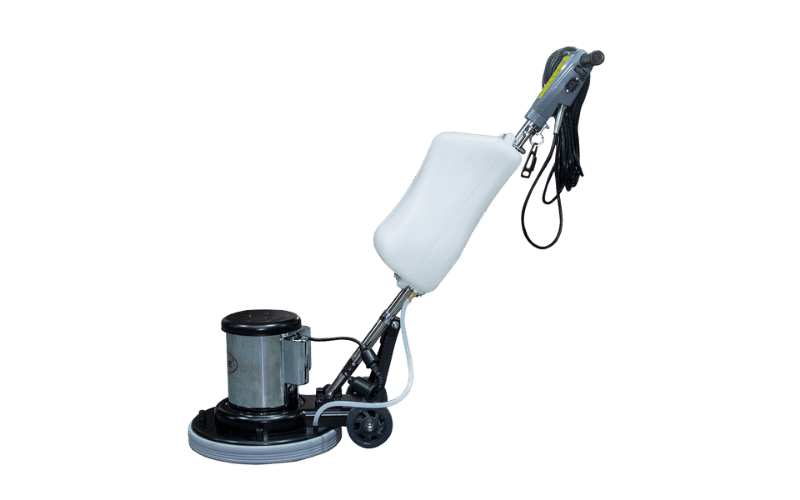
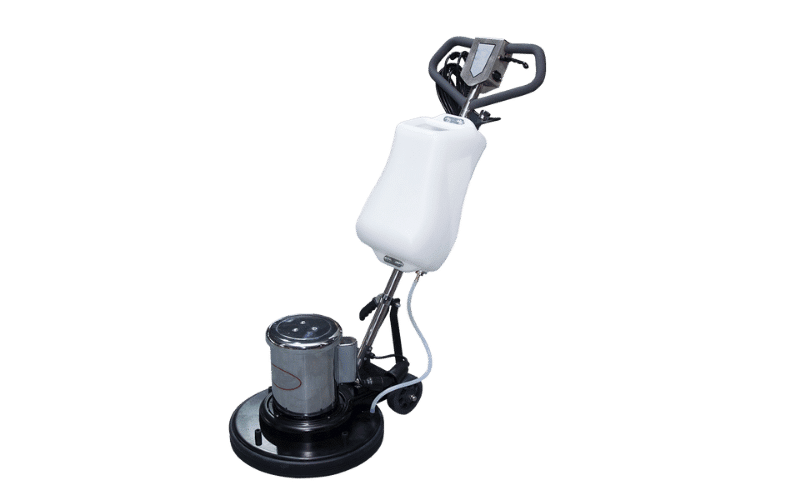
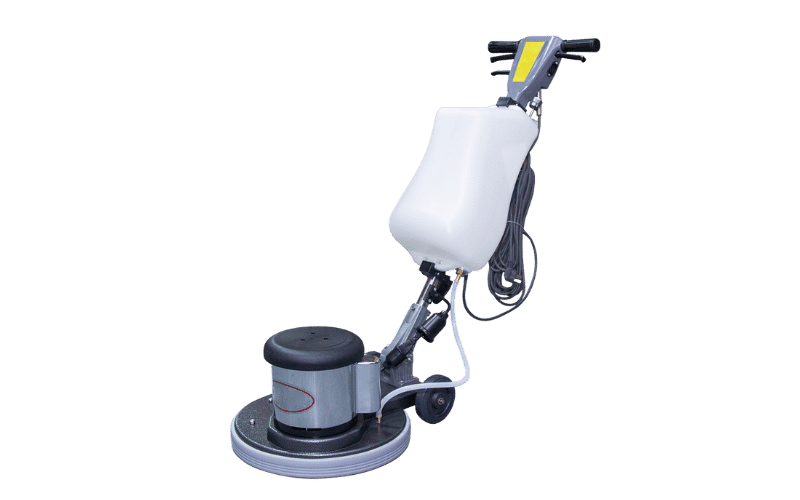
Once the floor is free of loose debris, it’s time for a deep clean to tackle the stubborn dirt, grime, scuff marks, and stains that sweeping alone cannot remove. While traditional mopping can be effective for small areas, a floor scrubber is the gold standard for achieving a truly deep and uniform clean, especially across large floor plans. Floor scrubbers work by applying a cleaning solution, scrubbing the surface with powerful rotating brushes, and then vacuuming up the dirty water—all in a single pass. This process is far more effective than mopping, which can often spread dirty water.
Using a Leadv floor scrubber simplifies this process and guarantees professional-grade results. Their machines are designed for powerful performance, efficiency, and quick drying times. Here’s how to use one effectively:
- Fill the scrubber: Start by filling the solution tank with water and the appropriate cleaning chemical for your floor type. Leadv scrubbers are designed to work efficiently with minimal solution, reducing waste.
- Adjust settings: Select the correct settings for your floor. Most scrubbers allow you to adjust the brush pressure and solution flow rate. Use higher pressure for durable surfaces like concrete and a lighter touch for more sensitive flooring like finished wood.
- Operate the machine: Begin scrubbing the floor by moving in slightly overlapping straight lines. This ensures every inch of the floor is cleaned evenly without missing any spots. The powerful suction of the squeegee at the back will leave the floor almost completely dry.
Allowing the floor to dry completely is a crucial final step. Leadv scrubbers are engineered to leave minimal moisture behind, dramatically reducing drying time and minimizing the risk of slip-and-fall accidents, making the area safe to use again much faster.
Step 3: Disinfect the Floors
It’s important to understand the difference between cleaning and disinfecting. Cleaning physically removes dirt and germs from surfaces, as you did in the previous step. Disinfecting, however, uses chemicals to kill pathogens and disease-causing microorganisms that remain. In environments where hygiene is paramount, such as hospitals, schools, or kitchens, disinfection is a non-negotiable step. This process must be performed after cleaning, as dirt can render disinfectants ineffective.
When selecting a product, choose an EPA-approved disinfectant and confirm it is safe for your specific flooring. The EPA provides lists of registered products proven to be effective against various pathogens. Always follow safety protocols, including wearing appropriate PPE like gloves and eyewear, and ensure the space has adequate ventilation.
Here are the key steps for disinfecting floors:
- Apply the disinfectant: The solution can be applied using a clean mop, a spray applicator, or a floor scrubber. If using a Leadv auto-scrubber, you can set it to a mode that applies the solution without immediately vacuuming it up, allowing for proper dwell time.
- Ensure required dwell time: This is the most critical part of disinfection. The disinfectant must remain wet on the surface for a specific period—often up to 10 minutes—to be effective. Check the product label for the exact contact time required.
- Restrict traffic: While the floor is wet, use safety signs and barricades to prevent foot traffic. This is essential for both safety, to avoid slips, and effectiveness, to ensure the disinfectant is not disturbed.
After the dwell time is complete, some disinfectants may require rinsing. If you used an auto-scrubber, you can then do a final pass to recover any remaining solution, leaving the floor clean, sanitized, and safe.
Step 4: Maintain a Regular Cleaning Schedule
A one-time deep clean is not enough to maintain floor integrity and hygiene. Consistency is the most important factor in keeping floors in excellent condition. Establishing a regular cleaning schedule prevents the buildup of dirt and grime, which can cause permanent damage and create safety hazards. A proactive routine also extends the life of your flooring, protecting your investment and reducing the need for costly repairs or replacements over time. With efficient equipment from Leadv, sticking to a comprehensive cleaning schedule becomes manageable rather than a daunting task.
Consider implementing a multi-tiered cleaning schedule tailored to your facility’s needs:
- Daily: High-traffic areas like entryways, hallways, and cafeterias should be swept or vacuumed daily. This simple action removes loose debris, prevents dirt from being tracked further into the building, and addresses immediate safety hazards.
- Weekly: Perform a deep clean with a floor scrubber at least once a week. This will remove the accumulated grime and stains that daily sweeping leaves behind, keeping floors looking polished and maintaining a high standard of cleanliness.
- Monthly: Disinfect floors, especially in hygiene-sensitive areas, monthly or more frequently as needed. This step is crucial for eliminating pathogens and ensuring a healthy environment for everyone who uses the space.
By breaking down tasks into daily, weekly, and monthly routines, floor maintenance becomes a continuous, manageable process.
Step 5: Tips for Cleaning and Maintaining Floor Scrubbers
Your floor scrubber is a significant investment, and proper maintenance is essential to ensure its longevity and optimal performance. A clean, well-maintained machine operates more efficiently, delivers better results, and is less likely to require expensive service calls. Neglecting maintenance can lead to reduced cleaning power, unpleasant odors, and premature wear on critical components. Make it a habit to clean your scrubber after every use.
Follow these simple steps to keep your Leadv auto-scrubber in top condition:
- Drain and rinse tanks: Immediately after use, drain both the solution and recovery tanks. Rinse them thoroughly with clean water to remove any chemical residue or grime. This prevents the buildup of bacteria and mold, which can cause odors and clogs.
- Clean key components: Wipe down the squeegees to ensure they can create a proper seal with the floor for effective water recovery. Remove the brushes or pads and clean them of any tangled debris or buildup. A clean brush scrubs more effectively.
- Inspect for wear and tear: Regularly inspect all parts, including hoses, squeegee blades, and brushes, for signs of wear. A worn squeegee blade will leave streaks, while worn brushes won’t clean effectively. Replacing these parts as needed is crucial for maintaining performance.
By dedicating just a few minutes to cleaning your equipment after each job, you will significantly reduce the risk of unexpected breakdowns and ensure your scrubber is always ready for the next task.
Conclusion
Following a systematic approach is the secret to achieving and maintaining clean floors impeccably. This ultimate checklist—from initial preparation and debris removal to deep scrubbing, disinfecting, and regular maintenance—provides a comprehensive framework for superior floor care. Clean floors are not just about appearance; they are a direct reflection of your commitment to safety, hygiene, and a high-quality environment for your employees, customers, or students. Adopting these practices helps protect your flooring investment and ensures a healthier space for everyone.
Investing in the right tools simplifies this entire process and elevates your results. Leadv’s advanced floor sweepers and scrubbers are engineered to deliver powerful, efficient, and reliable performance, making it easier than ever to stick to a rigorous cleaning routine. By combining a structured cleaning plan with high-quality equipment, you can ensure your floors remain safe, sanitary, and spotless for years to come. Embrace these habits and take pride in a cleaner, healthier facility.