



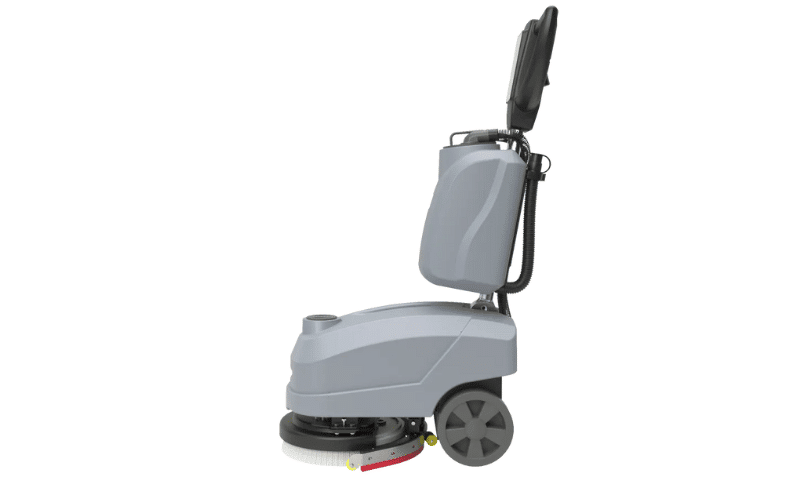

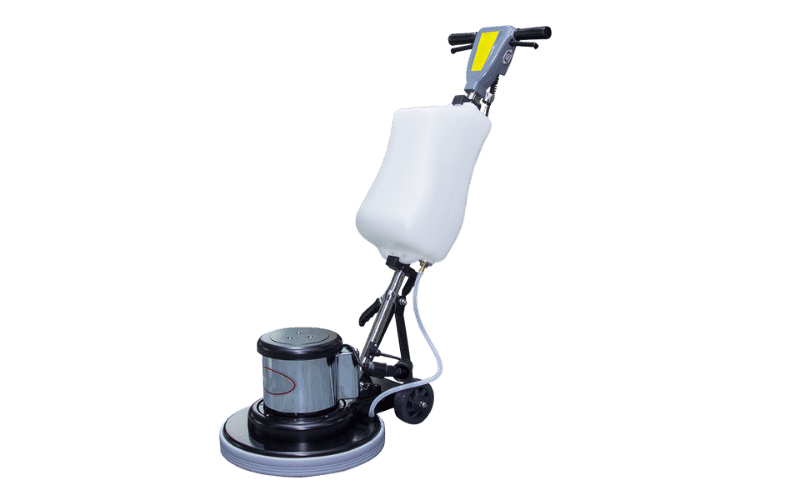
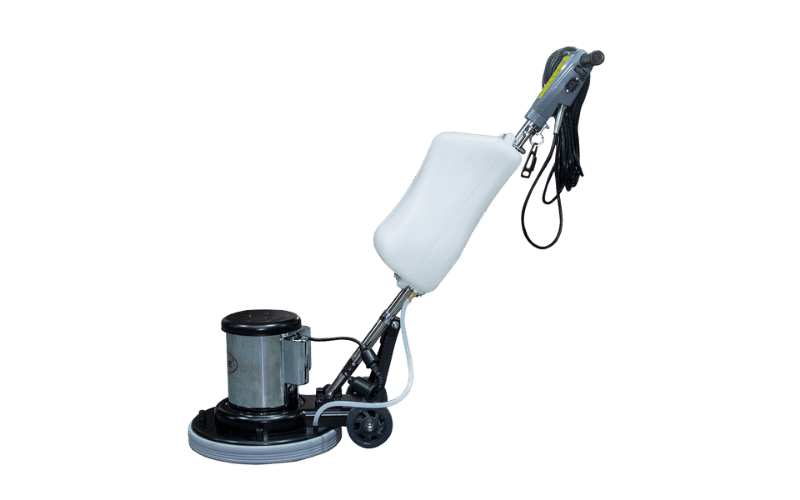
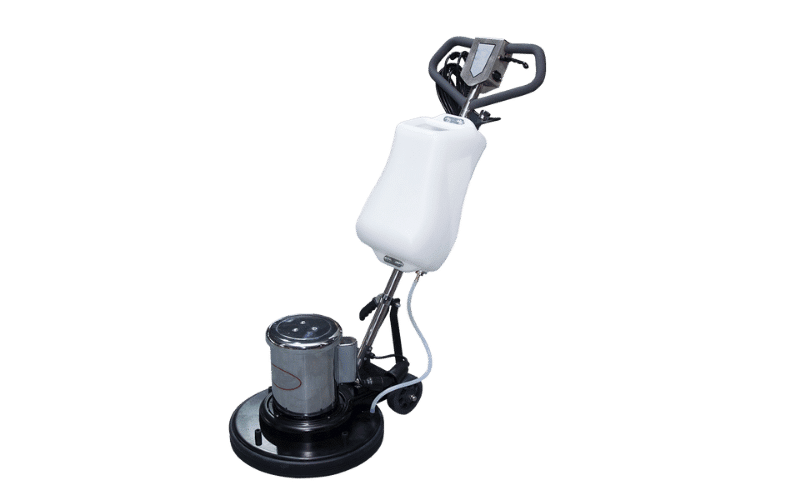



Getting the best results from your ride-on floor scrubber starts with using it correctly. This guide walks you through each step of operation, from filling the water tank to charging the battery, along with the safety practices that keep both your machine and your team protected. Follow these instructions to clean more efficiently and extend the life of your equipment.
How to Operate Your Floor Scrubber
Step 1: Add Water and Cleaning Solution
Open the tank lid and fill the clean water tank with fresh water. Add cleaning solution in a ratio that matches how dirty the floor is—heavier grime calls for a stronger mix. Once you’re done, close the tank lid securely.
⚠️ Warning: Never add laundry powder, high-foam detergents, or dish soap to the tank. The excess foam they create can damage or burn out the machine.
Step 2: Operate the Machine
- Turn the key switch to the on position.
- Gently press the scrub deck pedal to lower the brush disk, then lower the squeegee.
- Press the brush and vacuum switches.
- Adjust the water flow to match the level of grease and grime on the floor.
- Use the handle control ring to set your driving speed.
- The scrubber is now ready to clean as you drive.
When you finish cleaning, shut down in this order:
- Switch off the brush button first.
- Press the scrub deck pedal to raise the brush disk, then keep driving forward.
- Once the squeegee has vacuumed up all standing water, lift the squeegee handle.
- Switch off the vacuum motor button.
- After all functions have stopped, turn off the key switch.
⚠️ Warning: Never let the machine sit in one spot for long while the brushes are running. This can damage the floor.
Cleaning and Wastewater Disposal
Draining wastewater: Push the machine to a drain, then unscrew the wastewater hose cap to release the dirty water.
Cleaning the tank: Open the tank lid and plug the vacuum motor’s air intake with a cloth first—this stops water from getting inside and damaging the motor. Then rinse the inside of the tank and the filter screen with clean water.
Cleaning the surface: Wipe the machine down with a clean, dry cloth.
⚠️ Warning: Never spray water into the vacuum motor’s air intake. Never use corrosive cleaning liquids on the machine’s surface or internal parts.
Charging the Battery
- Unplug the machine’s power connector.
- Connect the charger plug to the machine.
- Plug the charger into a wall outlet.
A full charge usually takes about 6 hours.
Removing and Installing the Brush
To remove the brush:
- Raise the brush disk.
- Turn on the key switch.
- Press the brush-release button.
⚠️ Warning: Never use the automatic brush-release function while the deck is lowered. Doing so can damage the brush disk and the locking clips.
To install the brush:
- Place the scrub brush or pad driver on the floor in front of the machine.
- Raise the brush disk, then drive forward until it sits directly above the brush or pad driver, and lower it into place.
- Turn on the key switch and press the brush button.
- When you hear a clear grinding sound from the brush engaging, switch off the brush button.
- Press the scrub deck pedal to raise the brush disk. The brush is now installed.
Safety Precautions
Keep these ten points in mind every time you use the scrubber.
- Read the manual first. Study the operator’s manual carefully and complete proper training before using the machine.
- Don’t operate an incomplete machine. Never run the scrubber until it’s fully assembled. Inspect it for completeness before each use.
- Clear the work area. Remove large objects and any debris that could interfere with the squeegee. This improves efficiency and protects the machine.
- Handle heavily soiled floors carefully. For stubborn dirt, clean the same area several times or switch to a different cleaning solution for better results.
- Deal with pooled water on uneven floors. If water still collects in low spots after cleaning, raise the brush disk, turn on the vacuum switch, and drive the machine back and forth over the area to pick up the remaining water.
- Watch for deep grooves. Deep floor grooves can reduce the machine’s suction performance. Adjust your approach based on the conditions at the time.
- Never run the brush motor with the deck raised. When the brush disk is in the raised position, don’t start the brush motor—the brush will detach automatically.
- Ensure solid electrical connections. When charging, make sure the outlet connection is secure and the charger plug fits tightly into the battery connector.
- Follow proper battery charging habits. For the first three charges, keep the battery on the charger for at least 14 hours. After that, a normal full charge takes around 8 hours. High-current charging shortens the process but reduces battery life, so avoid it. A good routine is to charge at the end of each shift and disconnect the charger the next morning. Most chargers stop automatically once the battery is full.
- Maintain the battery during storage. If the machine won’t be used for a long time, recharge the battery once every two to three months to keep it healthy.
Consistent, correct operation is the key to spotless floors and a machine that lasts. By following each step and respecting these safety precautions, you’ll get reliable performance from your ride-on scrubber for years to come.