



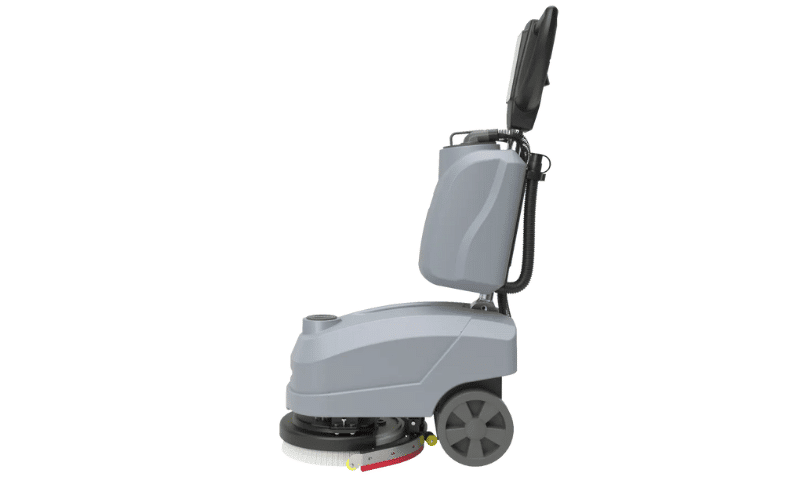

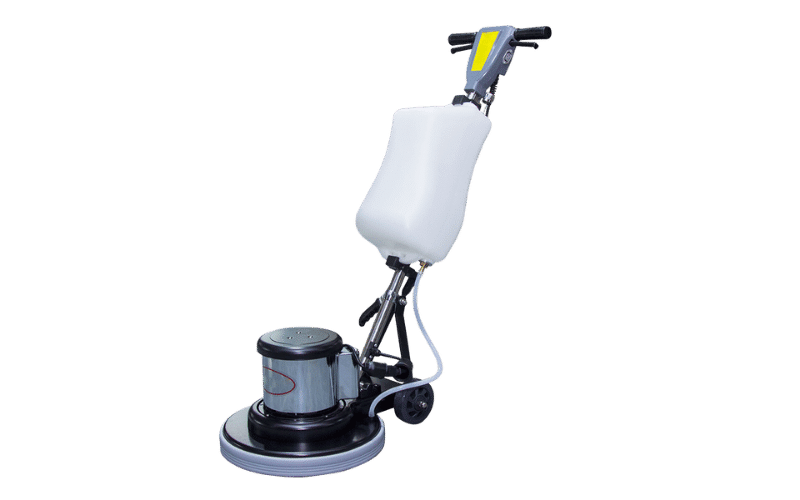
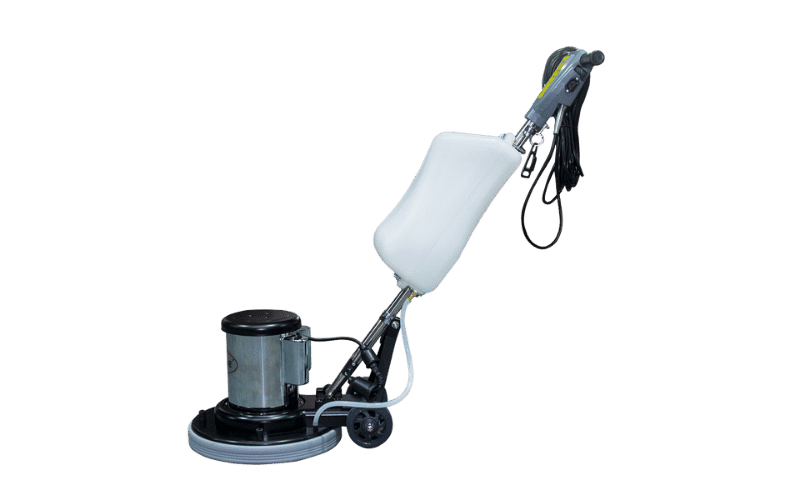
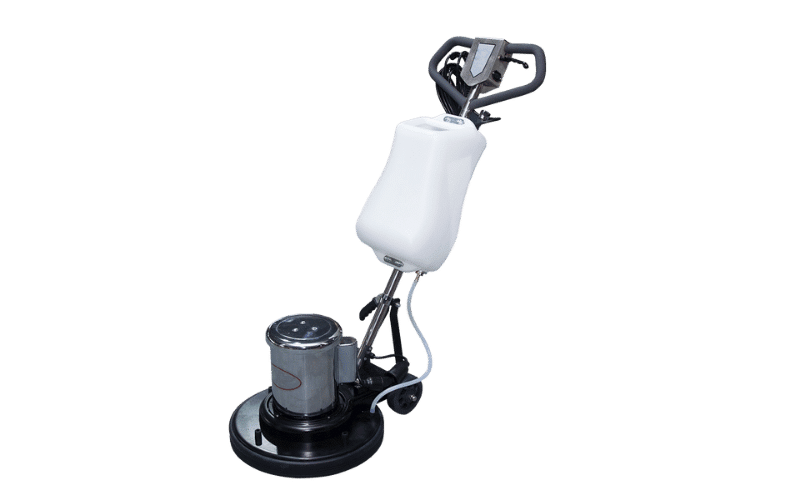
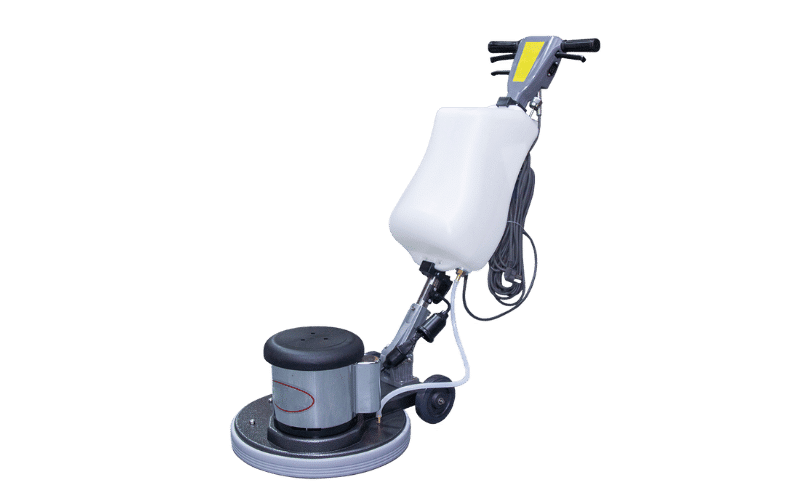



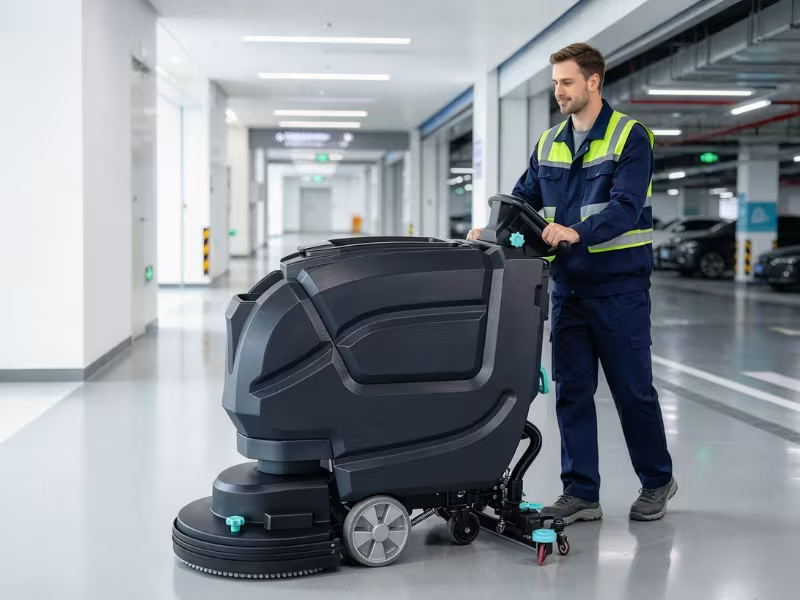
To operate a commercial floor scrubber, inspect the machine, fill the solution tank with the correct cleaning chemical, select the right pad or brush for your floor type, scrub in slow overlapping passes, let the squeegee pick up dirty water, and empty/rinse both tanks after use. Following this sequence prevents streaking, slip hazards, and premature wear on brushes and batteries.
Operating a commercial floor scrubber looks simple until it isn’t. Streaks, standing water, and dull-looking floors almost always trace back to a skipped step — not a broken machine. This guide breaks down the exact sequence operators, janitorial staff, and facility managers need to run a floor scrubber correctly, every shift, regardless of experience level.
Use it as a training reference for new hires or a refresher for seasoned crews. Either way, follow the order below. Skipping steps is the single biggest cause of callbacks and redone work.
Quick Answer: 7-Step Floor Scrubber Summary
- Inspect the machine (battery, pads, squeegee, cords).
- Sweep or dust mop the floor first.
- Fill the solution tank with water and the correct chemical ratio.
- Select the correct pad or brush for the floor type.
- Scrub in straight, overlapping passes at a steady pace.
- Run the squeegee and vacuum recovery system to pick up dirty water.
- Empty, rinse, and dry both tanks before storing the machine.
Each step is covered in detail below, along with the most common mistakes that cause rework.
Before You Start: Pre-Use Checklist
Start every shift with an inspection. A five-minute check prevents most mid-shift breakdowns and safety incidents.
- Battery level (for battery-powered units): Confirm it’s fully charged. A scrubber that dies mid-pass leaves a half-cleaned, half-rinsed floor behind.
- Pads and brushes: Check for wear, debris, or hardened cleaning solution. A worn pad won’t agitate soil effectively, no matter how strong the chemical is.
- Squeegee blades: Inspect for cracks, nicks, or warping. Damaged squeegee blades are the number one cause of streaking and water trails.
- Solution and recovery tanks: Make sure both tanks are empty and rinsed from the last use. Leftover dirty water contaminates a fresh batch of cleaning solution.
- Cords and hoses (for corded units): Check for fraying or loose connections before plugging in.
- Floor plan: Walk the area. Note furniture, cords, rugs, or high-traffic zones that need rerouting.
Skipping this checklist can turn a ten-minute job into an hour of troubleshooting.
Step-by-Step: How to Operate a Commercial Floor Scrubber
Step 1: Sweep or Dust Mop First
Run a dust mop or sweep the floor before scrubbing. Loose debris like gravel, paper clips, or grit will shred pads and scratch floor finishes if it gets pulled under the brush.
Step 2: Mix the Correct Cleaning Solution
Fill the solution tank with water, then add the cleaning chemical at the ratio listed on the product label. Over-diluting wastes time because it won’t lift soil. Over-concentrating leaves residue that attracts more dirt and can damage certain floor finishes.
Step 3: Select the Right Pad or Brush
Match the pad or brush to the floor type and soil level:
- Soft pads (white/red): Light cleaning and polishing on finished floors.
- Medium pads (blue/green): General scrubbing on sealed concrete, VCT, or tile.
- Aggressive pads or brushes (black/brown): Heavy soil, stripping, or textured surfaces like non-slip tile.
Using an overly aggressive pad on a finished floor will dull or strip the finish. Using a pad that’s too soft on heavy soil wastes passes and chemicals.
Step 4: Scrub in Overlapping, Straight Passes
Walk or drive the scrubber in straight lines, overlapping each pass by two to three inches. Maintain a steady, moderate speed—moving too fast reduces dwell time, the time the cleaning solution has to break down soil before the pad agitates it.
For heavily soiled areas, a double-scrub pass (one pass to apply solution and agitate, a second pass to pick up) produces far better results than one slow pass.
Step 5: Run the Squeegee and Recovery System
The squeegee and vacuum recovery system pull dirty solution off the floor and into the recovery tank. Confirm the vacuum motor is running and the squeegee is making full contact with the floor. Even a few millimeters of gap leaves streaks or a thin film of moisture behind—a slip hazard on hard floors.
Step 6: Check Your Work
Walk back over the area. Look for streaking, standing water, or missed spots along walls and corners where the scrubber’s brush deck doesn’t fully reach. Edge and corner areas often need a manual mop or edge tool to finish.
Step 7: Empty, Rinse, and Store
Empty the recovery tank first, then the solution tank. Rinse both with clean water to prevent chemical buildup and odor. Leave tank lids open while storing the machine so residual moisture can evaporate—this also reduces mold and mildew buildup inside the tanks.
Common Mistakes to Avoid
- Using too much chemical. More soap doesn’t mean cleaner floors. Excess detergent leaves a sticky residue that attracts dirt faster.
- Scrubbing too fast. Speed reduces dwell time and soil removal, forcing a second pass anyway.
- Ignoring pad wear. A clogged or worn pad spreads soil around instead of lifting it.
- Skipping the pre-sweep. Debris under the pad scratches finishes and shortens pad life.
- Letting the recovery tank overfill. This causes the vacuum motor to pull water into the motor housing, a common and costly repair.
- Mixing cleaning chemicals from different manufacturers. Some combinations cause foaming or residue buildup that interferes with the recovery system.
How to Use a Floor Scrubber on Different Floor Types
Floor type determines pad selection, solution strength, and scrubbing speed. Using the wrong setup for a given surface either damages the floor or fails to clean it properly.
|
Floor Type |
Recommended Pad |
Solution Strength |
Notes |
|---|---|---|---|
|
Sealed Concrete |
Medium (blue/green) |
Standard dilution |
Watch for pitting on unsealed or worn sealant |
|
VCT (Vinyl Composition Tile) |
Soft to medium |
Standard dilution |
Avoid aggressive pads, which dull the finish |
|
Ceramic or Porcelain Tile |
Medium to aggressive |
Standard to strong |
Textured or non-slip tile needs a brush, not a pad |
|
Epoxy-Coated Floors |
Soft pad |
Light dilution |
Aggressive pads can scratch the coating |
|
Rubber Flooring |
Soft pad |
Light dilution |
Strong chemicals can degrade rubber over time |
|
Natural Stone (marble, terrazzo) |
Soft pad, pH-neutral solution only |
Light dilution |
Acidic or alkaline cleaners can etch the surface |
Choose a soft pad with a pH-neutral solution for natural stone or epoxy-coated floors —these surfaces scratch and etch easily. Choose a medium or aggressive pad for textured tile or heavily soiled concrete, where soil removal matters more than finish preservation.
Troubleshooting: Why Your Floor Scrubber Leaves Streaks or Wet Floors
A floor scrubber leaving streaks or wet trails almost always points to one of these causes:
- Worn or cracked squeegee blades. Replace squeegee blades as soon as streaking starts — they’re inexpensive compared to the labor cost of redoing floors.
- Wrong solution-to-water ratio. Too much chemical leaves a film; too little fails to lift soil, leaving streaks after the water evaporates.
- Low vacuum suction. Check the recovery tank lid seal and vacuum hose for clogs or cracks.
- Scrubbing too fast for the recovery system to keep up. Slow down the pass speed so the squeegee has time to fully pick up solution before it dries.
- A dirty recovery tank or a stuck float shut-off. A stuck float shut-off reduces suction and leaves water behind. Clean it during routine maintenance.
Walk-Behind vs. Ride-On Scrubbers: Does the Process Change?
The core process — pre-sweep, mix solution, select pad, scrub, squeegee, rinse — stays the same across machine types. What changes is scale and control.
Walk-behind scrubbers suit smaller spaces, tight corners, and facilities under roughly 20,000 square feet. Operators control speed and direction manually, allowing more precision around obstacles.
Ride-on scrubbers are built for large, open spaces like warehouses, distribution centers, and big-box retail floors. They cover more ground per hour but need a wider turning radius and more operator training, since speed and tank capacity are both higher.
Choose a walk-behind scrubber if your facility has tight aisles or frequent obstacles. Choose a ride-on scrubber if you’re covering large, open square footage on a tight time window — the productivity gain outweighs the larger machine footprint.
Floor Scrubber Maintenance After Each Use
Daily maintenance extends equipment life and prevents the most common service calls.
- Empty and rinse both tanks after every use.
- Remove and rinse pads or brushes, then let them air-dry to prevent mildew.
- Wipe down the squeegee blades and check for nicks.
- Fully charge the battery before storage (for battery-powered units).
- Inspect cords, hoses, and seals weekly for wear.
- Schedule a full manufacturer-recommended service at the interval listed in your equipment manual, typically every 150–200 operating hours.
A scrubber that’s rinsed and dried after every shift will consistently outlast one that’s stored wet and dirty, regardless of brand or price point.
Frequently Asked Questions
How much does it cost to run a commercial floor scrubber?
Operating cost depends mainly on cleaning chemicals, water, and electricity or battery charging. Most facilities spend more on labor time than on consumables, so proper technique—fewer passes, less rework—has a bigger impact on cost than the machine itself.
How long does it take to train a new operator on a floor scrubber?
Most operators can run a walk-behind scrubber competently after one supervised shift following this SOP. Ride-on scrubbers typically need two to three supervised sessions due to the added turning radius and speed control.
What are the risks of using a floor scrubber incorrectly?
The main risks are slip hazards from wet floors left by a faulty squeegee, floor finish damage from using the wrong pad, and equipment damage from overfilled recovery tanks or worn brushes.
Are there alternatives to a floor scrubber for daily cleaning?
Mop-and-bucket systems work for very small spaces or spot cleaning, but they're slower and less consistent than a scrubber for any area over a few thousand square feet. Auto-scrubbers remain the standard for daily maintenance in retail, healthcare, and industrial facilities.
Who should use this SOP?
This guide is for janitorial staff, facility operators, and cleaning managers training new hires to operate commercial floor scrubbers, regardless of machine brand.
Keep This SOP on Hand
A floor scrubber only performs as well as the process behind it. Follow the seven-step sequence, match pad and solution to floor type, and rinse the machine after every use — that’s what separates streak-free floors from redone work.
Print this guide and post it near your equipment storage area, or build it into new-hire training so every operator on your team follows the same process.