







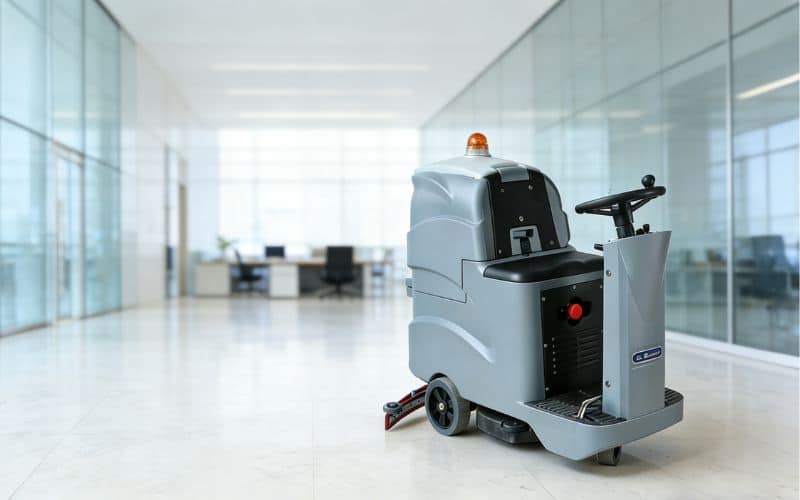
Operating a floor scrubber is straightforward once you know the process: inspect the machine, fill the solution tank, lower the scrub deck and squeegee, clean in overlapping passes, then drain and rinse both tanks after use. The right settings depend on your floor type, soil level, and whether you run a walk-behind or ride-on model.
This guide walks you through every step, from pre-operation checks to daily maintenance. You’ll also learn which floors a scrubber can safely clean, why floors sometimes streak, and how to choose the right machine for your facility. Whether you’re training a new operator or refining established habits, you’ll find practical, ready-to-use guidance below.
What a Floor Scrubber Does
A floor scrubber cleans faster, more consistently, and with far better water recovery than a mop and bucket. Understanding its core parts helps you operate it well.
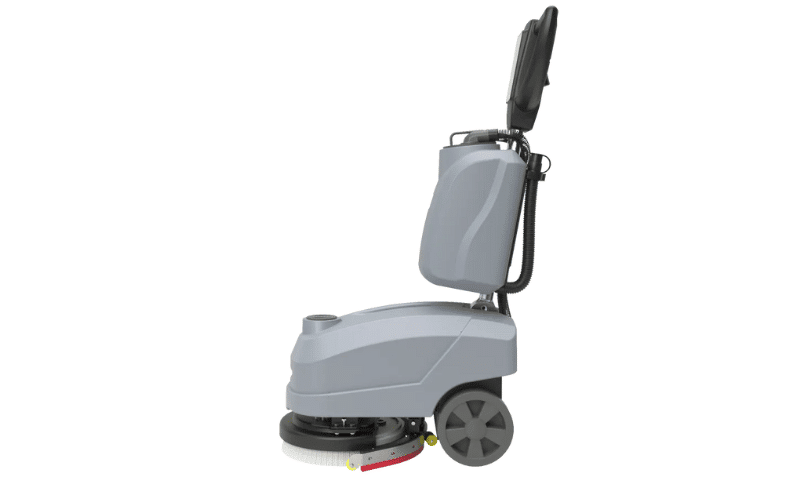
Every scrubber works with four key components:
- Solution tank: Holds clean water mixed with cleaning detergent.
- Scrub deck and brushes/pads: Rotate to agitate and loosen dirt.
- Squeegee assembly: Located at the rear, it vacuums dirty water off the floor.
- Recovery tank: Collects the dirty water for disposal.
The magic is in the separation. You always apply clean solution and remove the dirty result in a single pass. Brush stiffness and pad abrasiveness should match your floor and soil level—too aggressive scratches delicate surfaces, too soft won’t cut heavy grime. Most commercial models run on rechargeable batteries, though compact units may use a power cord.
Next, let’s cover what to check before you switch the machine on.
Before You Start: 6 Quick Checks
A two-minute inspection prevents most operating problems. Run through this list every time before cleaning.
- Clear the floor. Sweep or dust-mop loose debris first. Running a scrubber over grit spreads it around and wears down the brushes.
- Inspect the squeegee. Check the blades for nicks, tears, or hardening. A damaged blade streaks the floor on every pass.
- Check the brush or pad. Confirm it matches the floor type and isn’t worn unevenly.
- Fill the solution tank correctly. Use fresh water and the recommended detergent at the correct dilution. More chemical is not more effective.
- Confirm power. Verify the battery is charged or the cord is undamaged, and check cable connections for corrosion.
- Post wet floor signs. Set out warning signs wherever pedestrians may pass.
With the machine ready, you can move on to the actual cleaning process.
How to Operate a Floor Scrubber: 6 Steps
The following six steps take you from startup to shutdown. The process is similar for walk-behind and ride-on models, with minor differences in mounting and steering.
Step 1: Inspect and Power On
Walk around the machine and look for physical damage or frayed cables. Empty and rinse the recovery tank if it wasn’t cleaned after the last run. Power on and let any system self-check finish. Test the forward, reverse, and lift controls to confirm everything responds.
Step 2: Position the Machine
For a ride-on model, use the steps and handholds to climb aboard, then adjust the seat for clear control access and visibility. For a walk-behind unit, stand behind the handle with a clear view ahead. Keep the scrub deck and squeegee raised while moving into position.
Step 3: Lower the Deck and Squeegee
Bring the machine to your starting point and stop. Lower the scrub deck first, then the squeegee. This order keeps the squeegee protected until you’re ready to clean.
Step 4: Clean in Overlapping Passes
Start moving forward at a steady pace and activate the solution flow and brushes. Your cleaning pattern matters:
- Open areas: Work in long, straight parallel passes, overlapping each by a few inches.
- Aisles: Clean down the center first, then address the edges.
Avoid excessive speed, especially on heavily soiled floors. Moving too fast gives the brushes too little contact time and leaves the squeegee unable to recover all the water.
Step 5: Monitor Flow and Pickup
Keep an eye on your gauges as you clean. If the squeegee leaves wet patches or streaks, slow down or check for debris in the assembly. Adjust solution flow up for stubborn areas and down for routine maintenance cleaning. Empty the recovery tank before it fills, since a full tank weakens suction and risks overflow.
Step 6: Drain, Rinse, and Recharge
Drive to the designated area, raise both the deck and squeegee, stop fully, and power off. On a slope, engage the parking brake. Then complete your post-use routine:
- Drain the recovery tank completely.
- Rinse both tanks with clean water.
- Remove and rinse the brushes or pads.
- Wipe the squeegee blades clean.
- Recharge the battery if the model is battery-powered.
Post-use cleaning is the single habit that most affects machine life. Skip it, and odor, corrosion, and clogging follow quickly.
Walk-Behind vs. Ride-On Floor Scrubbers
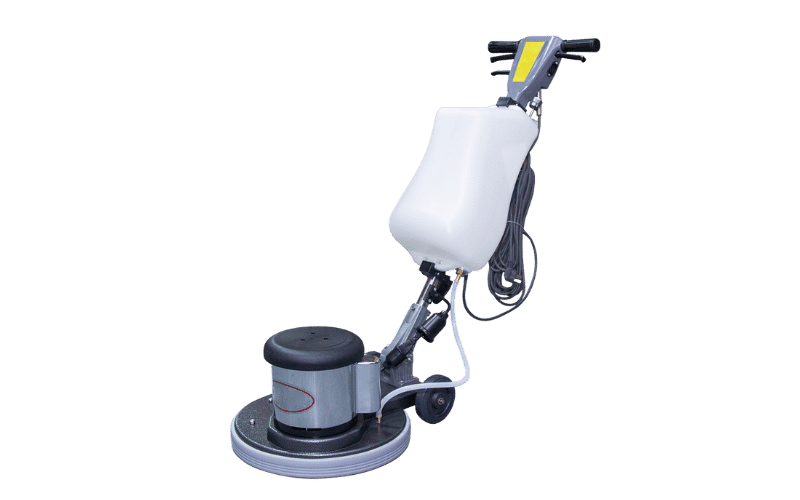
The right machine depends on your floor area and layout. Walk-behind units are guided by hand and suit tighter, medium-sized spaces. Ride-on units are driven from a seat and cover large open areas far faster.
|
Factor |
Walk-Behind |
Ride-On |
|---|---|---|
|
Ideal floor area |
Up to ~50,000 sq ft |
50,000+ sq ft |
|
Maneuverability |
Excellent in tight spaces |
Needs wider aisles |
|
Operator fatigue |
Higher on long runs |
Lower (seated) |
|
Training required |
Minimal |
More extensive |
|
Storage footprint |
Compact |
Larger, dedicated |
A common approach in large facilities pairs both: run a ride-on floor scrubber through open zones and a walk-behind floor scrubber along aisles, restrooms, and edges. For very tight areas like café pantries or convenience-store aisles, a small floor scrubber fits where larger machines can’t.
What Floors Can a Floor Scrubber Clean?
Most hard floors respond well to scrubbing—but a few surfaces need caution or should be avoided entirely.
Safe to clean:
- Vinyl and linoleum
- Ceramic and porcelain tile
- Sealed concrete
- Marble, granite, and limestone
- Terracotta and slate
- Epoxy non-slip floors
- Rubber and cork
Use caution: For delicate coated floors or polished marble, switch to soft white or red pads and lower the brush pressure. For rugged surfaces like sealed concrete or quarry tile, stiffer brushes with moderate pressure work better.
Avoid: Carpet, which tangles in the brush mechanism, and unsealed concrete or pavers, which are too porous for a scrubber to clean effectively.
As a rule of thumb: if you can mop it, you can usually scrub it—faster and with a better result.
Common Floor Scrubber Mistakes
Even seasoned operators fall into habits that hurt results. Watch for these five:
- Skipping the pre-sweep. Loose grit gets dragged around instead of removed.
- Using too much detergent. Excess solution leaves a sticky film that attracts more soil.
- Choosing the wrong chemical. Alkaline degreasers can strip coatings or damage vinyl. Match the product to the surface.
- Ignoring the recovery tank. A full tank kills suction and risks overflow.
- Driving too fast. Speed on dirty floors forces a second pass and erases any time saved.
Streaking deserves its own section, since it’s the problem operators report most.
Why a Floor Scrubber Leaves Streaks
Streaking almost always traces back to one of five causes. Work through them in order—the squeegee is the usual culprit.
- Worn or misaligned squeegee blades. Inspect for nicks and hardening; replace damaged blades rather than trying to fix them.
- A worn or mismatched brush/pad. A tired pad pushes dirt around instead of lifting it.
- Incorrect solution concentration. Too much detergent creates foam and residue.
- Reduced suction. Check for a full recovery tank, a clogged filter, or an air leak in the hoses.
- Speed too fast. Slow down so the squeegee can fully recover the solution.
Keeping the machine clean and adjusted prevents most streaking before it starts, which brings us to maintenance.
Daily Maintenance Checklist
Run through this list after every use to protect performance and extend machine life:
- Drain and rinse the recovery tank
- Drain remaining solution from the clean water tank
- Remove and rinse the brushes or pads
- Clean the squeegee assembly and clear debris from the blades
- Wipe down the machine exterior
- Check the battery level and connect the charger if needed
- Inspect squeegee blades for wear
Add weekly: check hose connections and tank seals for leaks, confirm brush pressure settings, and check battery water levels on wet-cell models. Track operating hours to schedule brush replacement, since usage intensity varies widely between facilities.
How to Choose the Right Floor Scrubber for Your Facility
The best machine matches your space, traffic, and cleaning frequency. Use these scenarios as a starting point:
- Small floor scrubber: Best for narrow aisles, café pantries, convenience stores, and washrooms with tight spaces.
- Walk-behind floor scrubber: Ideal for retail stores, schools, clinics, hotels, and medium-sized commercial spaces that need maneuverability.
- Ride-on floor scrubber: Suited to warehouses, factories, airports, and large open areas where productivity drives labor costs.
Noise matters too. Hospitals, schools, and offices benefit from quieter machines, while warehouses and factories prioritize coverage and durability. If you’re unsure, the LeadV team can help match a model to your floor type, square footage, and daily workload.
Frequently Asked Questions
How do you use a commercial floor scrubber?
Clear the floor of debris, fill the solution tank with water and low-foam detergent, lower the scrub deck and squeegee, then clean in overlapping passes at a steady pace. Drain and rinse both tanks after use.
Should you sweep before using a floor scrubber?
Yes. Pre-sweeping removes loose grit that would otherwise spread across the floor and wear down the brushes. It takes only a few minutes and noticeably improves results.
Why is my floor scrubber leaving streaks?
The most common causes are worn or misaligned squeegee blades, a worn pad, too much detergent, reduced suction due to a full tank or a clogged filter, and driving too fast. Check the squeegee first.
Can a floor scrubber clean tile, concrete, and epoxy floors?
Yes. Tile, sealed concrete, epoxy, vinyl, rubber, and stone all clean well with the right brush or pad and a compatible detergent. Avoid carpet and unsealed concrete.
How often should you clean the recovery tank?
After every use. Leaving dirty water in the tank causes odors, corrosion, and weakens suction over time.
What’s the difference between a walk-behind and a ride-on scrubber?
The cleaning process is the same, but a walk-behind is steered by hand and is suited to spaces up to roughly 50,000 square feet, while a ride-on is driven from a seat and cleans large areas much faster with less operator fatigue.
Get More From Every Cleaning Shift
A well-operated floor scrubber does more than leave floors clean—it extends machine life, protects your surfaces, and keeps your workspace safer. The essentials are simple: inspect before you start, match your settings to the floor, clean at a steady pace, and maintain the machine after every use.
If you’re deciding between a small, walk-behind, or ride-on model—or want guidance on operating a specific machine—the team at LeadV Cleaning Solutions is ready to help you find the right fit for your facility.