







Most floor scrubber problems don’t start with a mechanical failure. They start with dirty water left in a tank, a squeegee that should have been replaced two weeks ago, or a battery that was never fully charged. By the time a machine fails mid-shift, the cause usually traces back to something routine that got skipped.
This guide focuses on the maintenance habits that actually matter: what to do after every use, which components wear first, how to read early warning signs before they turn into downtime, and when a problem is past what in-house care can fix.
What Floor Scrubber Maintenance Actually Covers
Maintenance on a commercial floor scrubber isn’t complicated, but it does need to be consistent. It breaks down into a few clear categories:
- Post-use cleaning: tanks, squeegees, brushes, and machine surfaces
- Fluid path care: filters, hoses, and vacuum lines
- Battery maintenance: charging habits, terminal condition, and water levels (on wet-cell batteries)
- Wear-part inspection: squeegee blades, brush bristles, and pads
- Periodic checks: wheels, casters, seals, and controls
Each of these has a different failure pattern and a different consequence when ignored. The sections below focus on the ones that cause the most problems in real-world operation.
What to Do After Every Use
This is where most maintenance gaps happen, and where most performance problems begin.
Empty and rinse both tanks — recovery first
Always drain the recovery tank before the solution tank. Dirty recovery water, left sitting overnight, breeds bacteria rapidly, builds up residue on the tank walls, and produces the odor that facilities often blame on the floor rather than the machine. Rinse both tanks with clean water, and leave the lids open so the interior can dry between shifts. A sealed, wet tank is one of the fastest ways to create a persistent odor problem.
If you use a foamy cleaning solution, add an anti-foam agent to the recovery tank. Excess foam gets pulled into the vacuum system and can damage the motor over time.
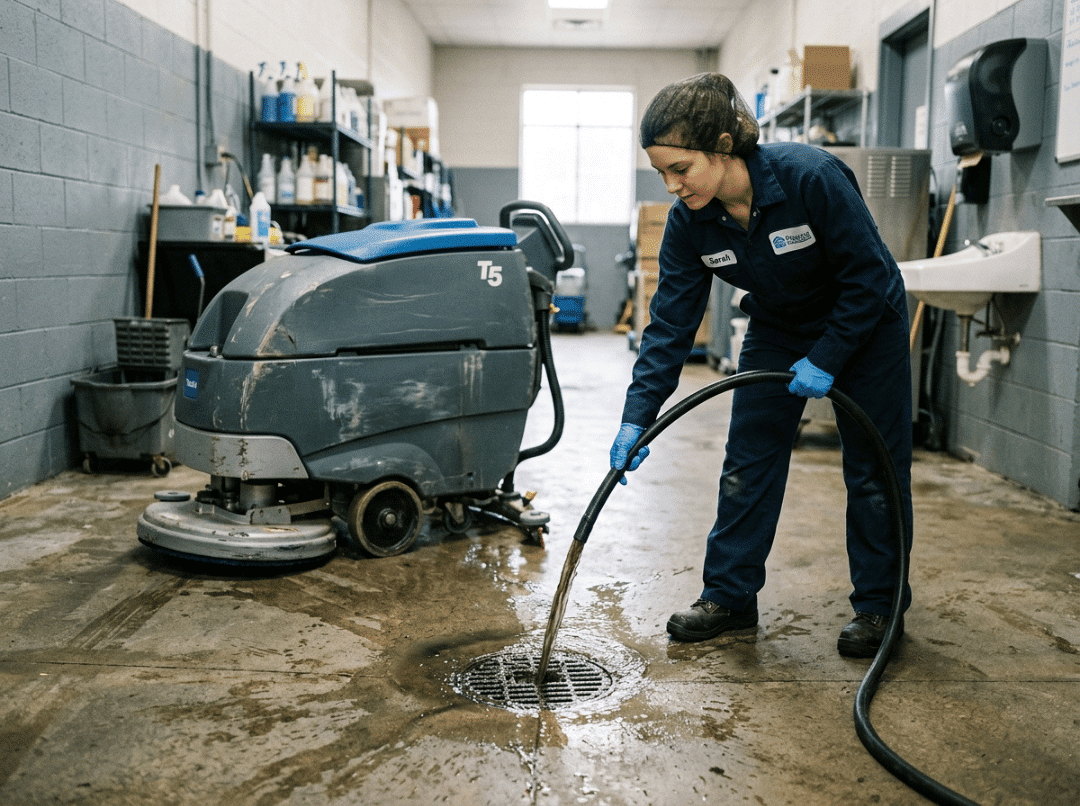
Clean the squeegee after every single run
A squeegee that looks clean may still have a thin film of detergent residue or debris along the blade edge. That film is enough to break the seal against the floor on the next shift and start leaving water behind. Remove the squeegee assembly, rinse the blades, and wipe the edge clean. While it’s off, run a quick visual check: look for nicks, tears, or any rounding of the blade edge. If the edge has lost its sharpness, the machine will streak regardless of how well everything else is maintained.
Clear the brushes and pads
Check for debris caught in the brush deck — wire, string, and plastic wrap are the most common culprits. These wrap around the brush hub, reduce agitation, and can stress the motor if left in place. If your machine uses pads, inspect the pad driver for buildup. A clogged or uneven pad driver puts uneven pressure on the floor and wears pads faster.
The Parts That Affect Cleaning Performance First
When a floor scrubber starts producing worse results, the cause is almost always in one of three places: the squeegee, the brushes or pads, or the battery. Understanding how each one fails helps you identify the problem quickly rather than checking everything at once.
Squeegee blades
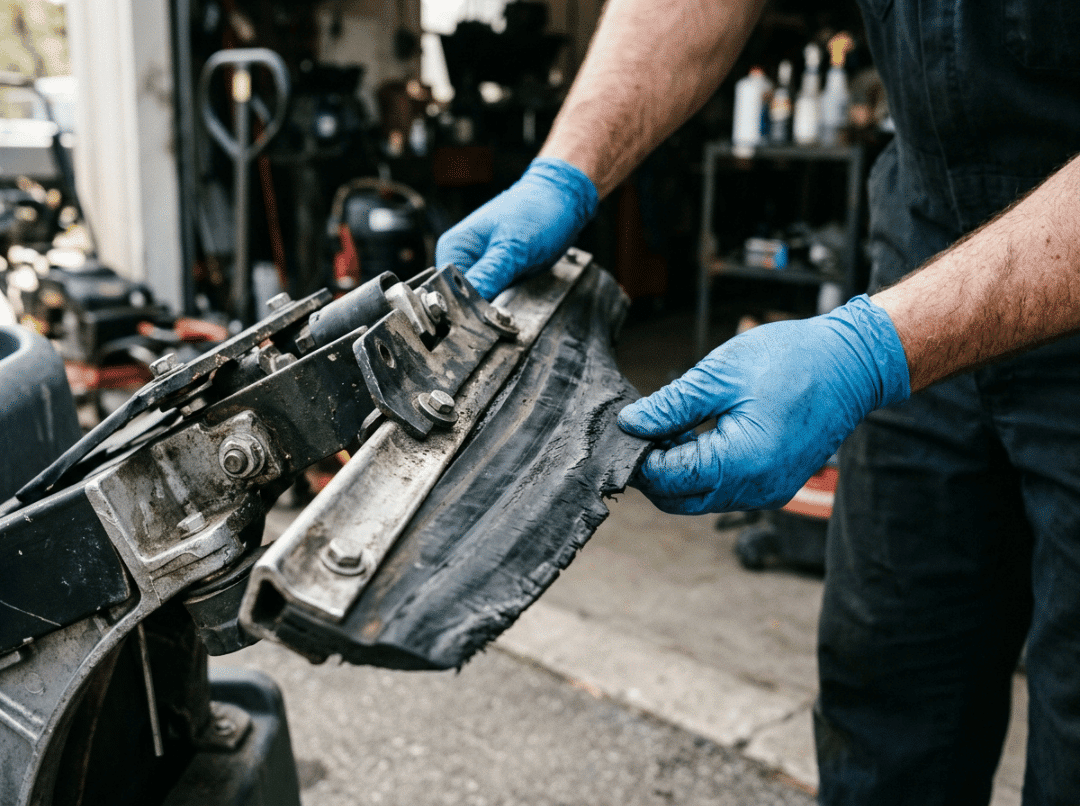
Squeegee failure is the most common cause of streaking and water left on the floor. The blade needs a sharp, clean edge to maintain contact with the surface across its full width. Once the edge rounds off, even slightly, it lifts in the center and leaves a streak of water behind.
Most blades are reversible: when one edge wears, you can flip the blade and get a second working surface before replacing it entirely. When both edges are rounded, nicked, or torn, replace the blade. Running a worn squeegee longer than it should go doesn’t just produce poor results — it forces the vacuum system to work harder and can contribute to motor wear over time.
Check blade tension and height regularly, not just blade condition. A blade set too low drags on the floor. Too high, and it doesn’t seal at all. Even a new blade installed at the wrong angle will streak.
Brushes and pads
Brushes lose effectiveness gradually, which makes it easy to overlook the decline. The most reliable indicator is bristle length: when the bristles have worn to about half their original length, agitation drops noticeably, especially on textured floors. Glazed or hardened pads show a similar pattern — they stop creating friction and start burnishing the surface instead of cleaning it.
Match your brush or pad to the floor type. Using a stiff brush on a soft floor finish, or a pad that’s too aggressive for the soil level, accelerates wear and can damage the surface.
Battery
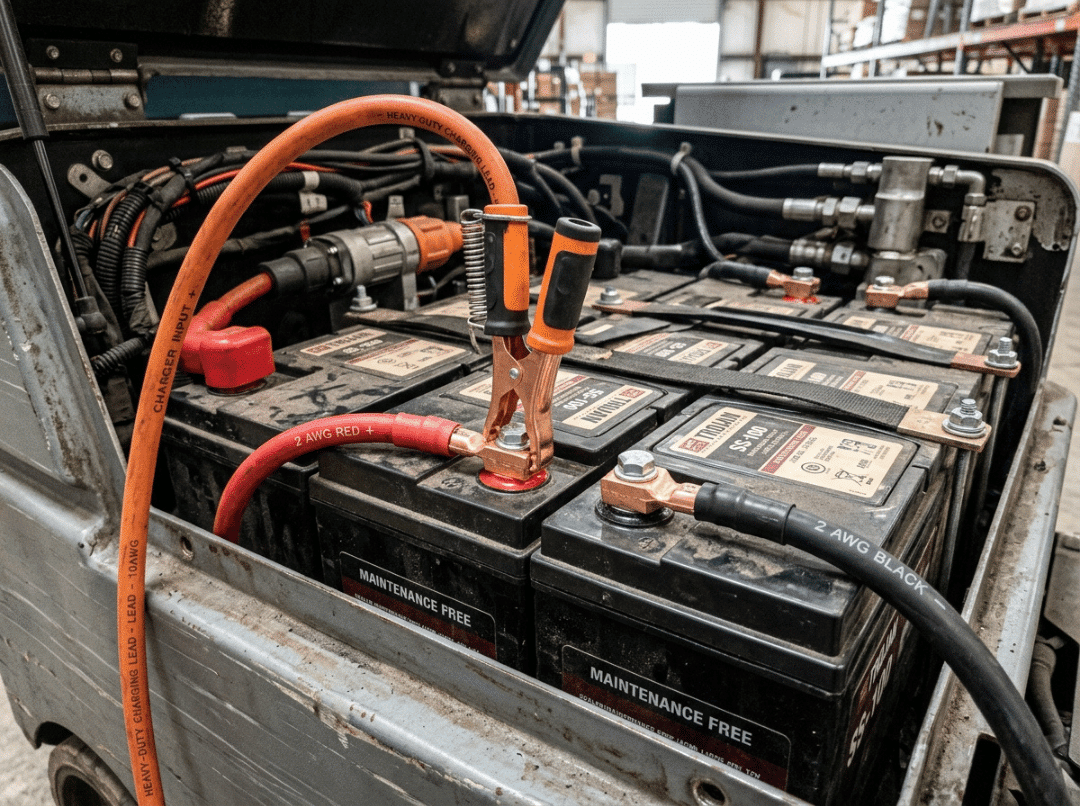
Short runtime is the most visible battery symptom, but it usually develops gradually over weeks. The most common cause isn’t a failing battery — it’s inconsistent charging. A battery that gets partially charged and then run down repeatedly loses capacity faster than one that’s always charged fully before use.
For wet-cell (lead-acid) batteries, water level is the other critical variable. Check levels weekly. Top up with distilled water after charging, not before — adding water before charging can cause overflow. Low water exposes the battery plates, which permanently damages cell capacity.
AGM and gel batteries are sealed, so they need no watering, but they are sensitive to overcharging. Follow the manufacturer’s charge routine rather than assuming any charger will do.
Lithium batteries handle partial charging well and can be topped up during breaks without damage. The main risk with lithium is storage: if stored at a low state of charge for an extended period, capacity degrades faster than it should.
Clean battery terminals at your weekly check. Corrosion at the terminal connection adds resistance and reduces the effective charge delivered to the machine.
Why Machines Start Leaving Streaks, Water, or Weak Cleaning Results
When a floor scrubber’s performance drops, it’s rarely a single failure — it’s usually a sequence. Knowing where to start your diagnosis saves time.
If the machine is leaving water behind: Start with the squeegee before anything else. Check for debris on the blade edge, then check the blade condition, then check the recovery tank level. A full or partially clogged recovery tank reduces suction, which prevents the squeegee from sealing correctly. If the squeegee is clean and the tank is empty but water is still being left behind, check the recovery hose for a clog or crack, and check all fittings for air leaks. Any air leak in the suction path kills pickup.
If the floor looks dull or dirty after scrubbing: The problem is usually at the brush or pad. Reduced agitation from a worn brush deck leaves soil loosened but not fully removed. Check pad condition and driver contact. If the brush pressure setting is adjustable, verify it hasn’t drifted from the recommended range.
If battery runtime drops suddenly rather than gradually: A sudden drop, rather than a slow decline over weeks, usually points to a specific problem: a shorted cell in a lead-acid battery, a connection fault, or a charger that’s no longer completing full charge cycles. Gradual decline is normal aging. A sudden drop warrants a closer inspection of the charger output and battery cell condition.
If solution flow seems weak: Check the solution tank level first, then the solution filter, then the solution line for kinks or partial clogs. A clogged solution side forces the machine to lay down less water, which reduces cleaning effectiveness and causes brushes to run drier than they should.
Maintenance Differences Between Walk-Behind and Ride-On Scrubbers
The core maintenance tasks are the same across machine types, but the priority areas shift.
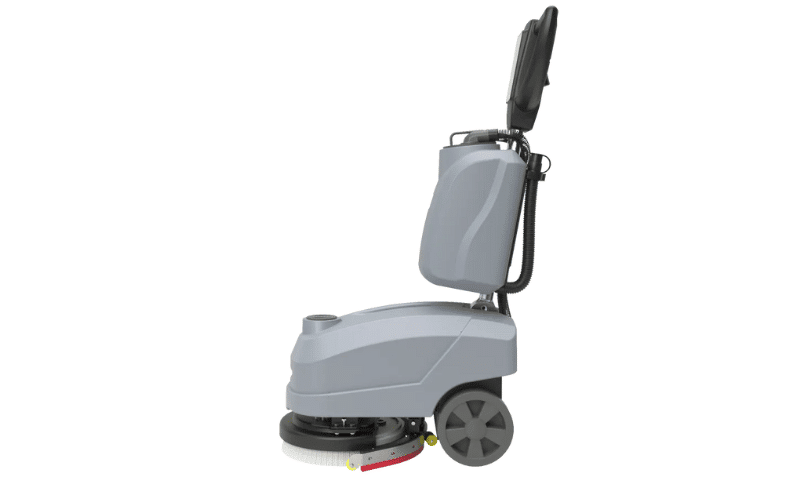
Walk-behind scrubbers have a lighter overall maintenance load. The squeegee assembly and brush deck are the main focus. Because these machines run on a single battery or power cord and have simpler drive systems, most daily problems trace back to the squeegee or brushes rather than the electrical or mechanical systems.
Ride-on and stand-on scrubbers have larger tanks, bigger batteries, and drive components that need regular attention. Battery care becomes more critical because a larger battery that’s undercharged or low on water has a bigger impact on runtime and recovery. Check the tires and drive wheels for wear and debris. On machines with steering actuators, verify that response is consistent. If steering feels sluggish or uneven, that’s a sign to inspect the actuator and its connections before the problem worsens.
Scrubber-sweepers add a full sweep system to the maintenance routine. Empty the hopper after every use. Clear the main and side brooms of wire, string, and debris — these wrap around the broom hub just as readily as around a brush deck. Check the dust filter regularly; a clogged filter reduces the sweep system’s pickup and can allow fine debris to carry over into the scrubbing path.
Weekly and Periodic Checks That Prevent Most Problems
Filters: Rinse the float filter and any inline filters weekly, and let them dry completely before reinstalling. A partially blocked filter reduces water flow on the solution side and suction on the recovery side. Replace a filter when it remains discolored after rinsing, or when rinsing no longer restores normal flow.
Hoses and vacuum lines: Inspect for cracks, kinks, and loose fittings at your weekly check. A hairline crack in the recovery hose that’s not visible may only show up as reduced suction. If pickup has dropped and the squeegee checks out, disconnect and inspect the recovery hose section by section.
Wheels and casters: Monthly, check for debris wrapped around wheel hubs and inspect the caster swivel for resistance. A caster that doesn’t swivel freely changes how the machine tracks across the floor and puts strain on the steering system.
Seals and gaskets: At your monthly check, look for any moisture around tank seals and hose connections. A weeping seal is easy to address early and becomes expensive when it fails mid-operation.
Common Maintenance Mistakes That Shorten Machine Life
Storing the machine with tanks sealed. A sealed wet tank holds moisture, odor, and residue. The interior needs airflow between uses. Leave both lids open.
Running worn squeegees longer than necessary. The performance drop is gradual, so it’s easy to rationalize. But a worn squeegee forces the vacuum system to compensate, and the floor never gets dry. Replace on a schedule based on operating hours rather than waiting for an obvious failure.
Inconsistent battery charging. Partial charges, followed by heavy use, degrade capacity faster than almost anything else. Make full charging after every shift a non-negotiable part of the post-use routine.
Using the wrong chemical dilution. Over-concentrated cleaning solution doesn’t just damage floor finishes — it produces excess foam that enters the vacuum system and leaves residue throughout the solution path. Follow dilution rates exactly.
Skipping the post-use rinse when the machine looks clean. The machine may look clean, but the recovery tank and solution path still contain residue and bacteria from the shift. The rinse step takes less than five minutes and prevents problems that take much longer to fix.
When Routine Maintenance Is No Longer Enough
There’s a clear line between what in-house maintenance should cover and what requires a technician.
Your team should handle: post-use cleaning, filter rinsing, battery charging and watering, squeegee and brush replacement, terminal cleaning, and routine wear-part replacement. None of these require special tools or diagnostic equipment.
A technician is the right call when: the drive motor behaves inconsistently, the charger isn’t completing charge cycles, you’re seeing recurring error codes, or the same machine keeps failing despite correct maintenance. These symptoms point to electrical or mechanical faults that can’t be resolved by cleaning or wear-part replacement.
If the same machine is generating repeated repair calls, a preventive maintenance program — scheduled inspections by a qualified technician — will almost always cost less than the accumulated repair bills and lost productivity. One mid-shift breakdown in a high-traffic facility typically costs more than multiple PM visits.
Frequently Asked Questions
What maintenance does a commercial floor scrubber require?
After every use: drain and rinse both tanks, clean the squeegee and brushes, and leave the tank lids open to dry. Weekly: rinse filters, inspect hoses, clean battery terminals, and fully charge the battery. Monthly: check wheels, casters, seals, and squeegee blade condition. Periodically: replace worn brushes, pads, and squeegee blades, and schedule professional servicing for the motor and electrical system.
Why is my floor scrubber leaving streaks?
Start with the squeegee. A worn, nicked, or dirty blade edge is the most common cause of streaking. Check blade condition, clean the edge, and verify the blade tension and height are correctly set. If the squeegee checks out, check the recovery tank — a full or clogged tank reduces suction and prevents the squeegee from sealing properly.
Why is my floor scrubber not picking up water properly?
Poor pickup is usually a suction path problem. Start by emptying the recovery tank and checking the recovery hose for clogs. Then inspect all hose fittings for air leaks — any break in the seal reduces suction significantly. If the hose and fittings are clear, check the squeegee blade; a worn or misaligned blade can allow water to pass under it rather than being collected.
How do I know when to replace the squeegee blades?
Replace the blade when the edge is visibly rounded, nicked, or torn, or when the machine consistently leaves water behind even after cleaning the blade and confirming correct tension. Most blades have two usable edges — flip the blade when one edge wears before replacing it entirely.
How long does a floor scrubber battery last?
A well-maintained lead-acid battery typically lasts one to three years. Consistent full charging, correct water levels on wet-cell batteries, and clean terminals are the biggest factors in reaching the upper end of that range. A battery that’s regularly undercharged or allowed to run very low before recharging will lose capacity much faster.
Why is my battery run-time shorter than it used to be?
Gradual runtime decline over months usually reflects normal battery aging or accumulated charging mistakes. A sudden drop in runtime more often points to a shorted cell, a charger fault, or a connection problem. If runtime drops noticeably from one shift to the next without any change in use conditions, check the charger output and inspect terminals before assuming the battery needs replacement.
When should I call a technician instead of handling it myself?
Call a technician when the machine has recurring error codes, drive or steering problems, a charger that won’t complete a charge cycle, or a fault that keeps returning after correct maintenance. These are diagnostic and repair jobs, not maintenance tasks. If the same machine keeps failing, a preventive maintenance plan from a qualified service provider is worth the investment.
Do I need to maintain a rented floor scrubber?
Yes — post-use cleaning is typically the operator’s responsibility even on rented equipment. That means draining the tanks, rinsing the squeegee, and cleaning the brushes after every shift. Repairs and major servicing are usually handled by the rental provider, but day-to-day care falls to whoever is operating the machine.
Building a Maintenance Routine That Holds
The facilities with the fewest floor scrubber problems are usually not the ones with the best equipment — they’re the ones where the post-use routine actually gets done. Drain the tanks, clean the squeegee, and charge the battery after every shift. Run a quick inspection of filters and hoses once a week. Replace wear parts before they’re obviously failing rather than after. And when a machine starts showing symptoms that don’t resolve with basic maintenance, get a technician involved before the problem escalates.
That’s most of what it takes to keep a commercial floor scrubber running well. The rest is knowing which specific parts to watch most closely on your particular machine — and the sections above should give you a clear starting point for that.